Claim YOUR FREE Markers today!

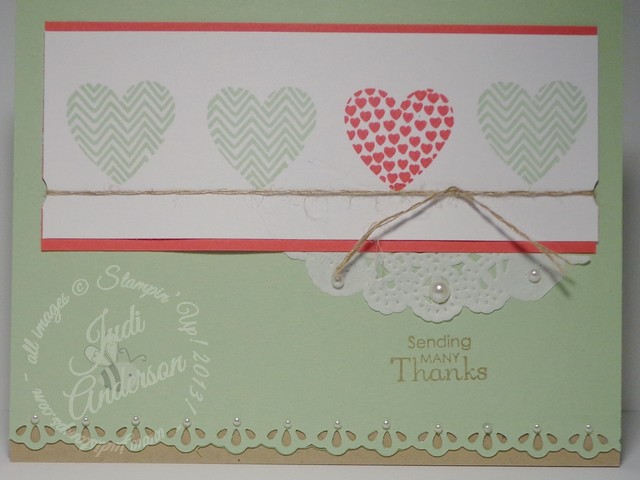
Over 7000 people are enjoying their brand-new, FREE In-Color Stampin’ Write Markers~ are you?

track-1
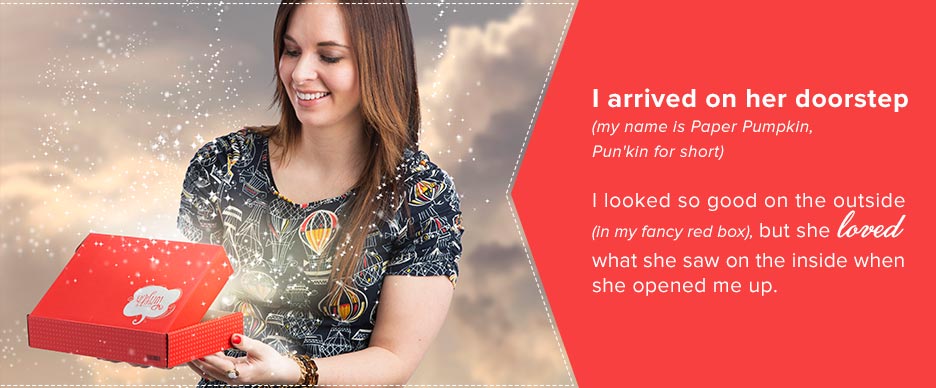
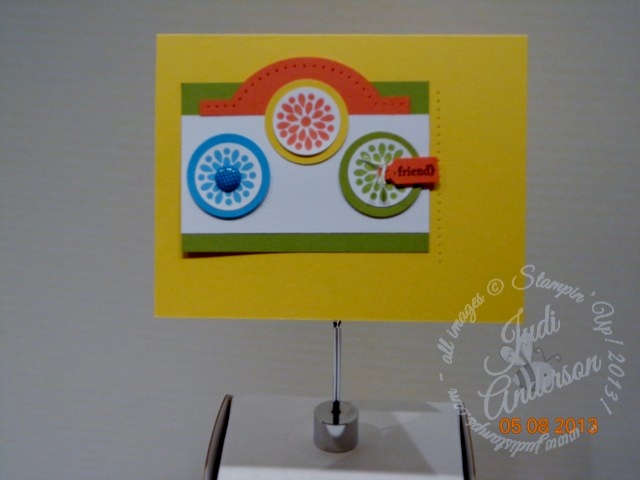
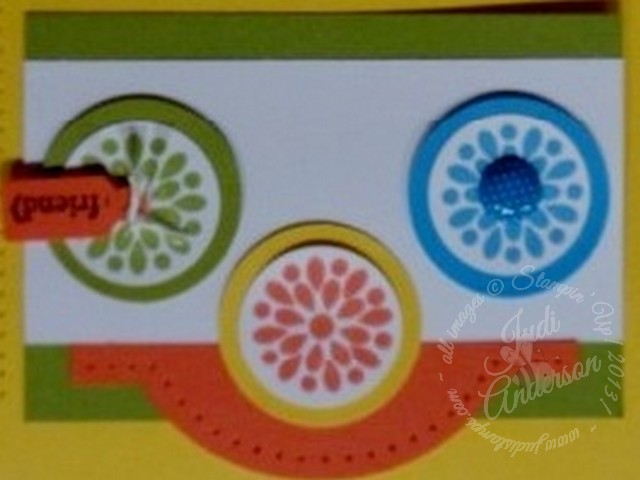
Would you like a fully designed project kit (packaged in a charming box) delivered to your front door each month? You will find the box filled with stamps, ink, and paper, everything cut and ready for you to create. Paper Pumpkin as a great stress-free way to create. Why not have some friends join too and you can gather together to create these fun projects. We like to create a project on our own, gather our extras, get together for coffee, share what we created and then create some more!

An Exclusive BONUS just from me– I will send you a photo & quick video of a project that I created  with Paper Pumpkin each month you are a member when you sign up through me!

What are you waiting for? Get ready to share what you love by joining today!

All new members who join by March 31,2014 will receive a FREE set of In-Color markers- a $14.95 value!

Visit: www.mypaperpumpkin.com today to get started and enjoy your FREE markers! *Be sure to choose me ~  ( Judi Anderson from Illinois as your demonstrator to receive your exclusive bonus)

Til we meet again,

buy Stampin Up! here!

Progressive Project #1,day 3

I am so happy to hear that my Progressive Project Video from yesterday helped making the paper roses easier for several of you. Due to my coughing episode during today’s video I forgot to give you a technique tip. When tearing, if you tear the paper towards you, the rough edge will be on top. If you tear away from you, the rough edge will be on the bottom. Sometimes I tear both ways in one tear to get another unique look. Now for today’s elements:

I am sure you can’t wait to put all these elements together tomorrow!

Til we meet again,

buy Stampin Up! here!

Progressive Project Series project 1, day 2

I hope you enjoyed the first video of this series and plan on creating along with me. Have you been wanting to learn the tricks to creating roses with our Spiral Flower Originals BigZ Die? You’re in luck! One of the 2 elements you will be creating today is creating a rose with this new die.

Supplies used today:

Stamps: Polka Dot Pieces (w-#129705 , c-#129708 )

Paper: Pink Pirouette cs (# 111351)

Ink: Soft Suede Ink Pad (#126978 )

Misc.:  Elegant Butterfly punch (#127526 ), Spiral Flowers Original Die (#129379), Stampin’ Sponge (#101610 ), Silicone Craft Sheet (#127853 ), Rhinestone Basic Jewels (#119246 ), Bone Folder (#102300 ), Hot Glue

Take advantage of our Sale-A-Bration promotion. Details Here.

Til we meet again,

buy Stampin Up! here!

How do I create a flower from my scalloped circle punches?

In today’s video you will learn how to create flowers from your scalloped circle punches.

Are you ready for this?

A BRAND NEW,EXCLUSIVE SERIES FROM ME!

I’ve been receiving several requests to bring an interactive series here. As you know, I’ve been working on Google Hangouts On Air and am almost ready to do a test run. BUT you are wanting me to bring you videos showing you tips,tricks and techniques while creating a project. Here is what I came up with for YOU!

My Progressive Project Series

Are you intimidated or get confused when you watch some videos on paper crafting & stamping projects?

Would you like to learn some of the tips, tricks, & techniques to making your paper crafting & stamping projects easier?

Then I think you are going to love this series!

Here’s what I will be bringing you;

  • A project that you are able to easily follow without having to continually stopping the video.
  • I will teach you techniques on elements & turn them into a project at the end of the week
  • A step by step process that even the newest stamper will be able to follow ( for you veteran stampers too!)
  • I will bring you at least 1 element each day, every/other week
  • I will not reveal the project until the end of the week where I take you through step by step to complete the project
  • The types of projects will be : boxes,cards,tags,home decor & more
  • I will be bringing you these here every Wednesday through Saturday.

So, let’s begin!

Products used:
Paper: Very Vanilla cardstock #101650
Inks: Soft Suede ink pad #126978
Misc.: 1 1/4″ Scallop Circle Punch #127811 , Paper Snips #103579 , Stampin’ Sponge #101610 , Multi-Purpose Glue #110755 , Bone Folder #102300 , Tea Lace Paper Doilies #129399

Can be purchased at my Online Store and delivered right to your front door.

Til we meet again,

buy Stampin Up! here!


Paper Pumpkin Monthly Kit $10 for your first two months!

Escape to your creative place each month with our

Paper Pumpkin Monthly Crafting Kit.

Do you find yourself ;

  • with no time to create?
  • spending hours on Pinterest because you don’t know what to create?
  • Not wanting to buy lots of stuff?

Paper Pumpkin has everything you need;

  • stamps
  • ink
  • paper
  • and accessories

…all cut, measured, and ready for you to create a great project.

No mess, no extras, no craft after mess!

You can give it a try for only $10/month for your first two months when you join by August 31, 2013.

Paper Pumpkin monthly crafting kit delivrered to your door

To join just click on the picture above and just click on the Paper Pumpkin block.

Don’t forget to choose me as your demonstrator!  Judi Anderson, Downers Grove IL.

Til we meet again,

buy Stampin Up! here!


Hey There Scrapbook Page


I can’t wait to put pictures on this “Hey There” scrapbook page. I can just imagine capturing Samantha doing some cute pose or doing something she isn’t supposed to and putting it on here. I love how the images from one of My Paper Pumpkin Kits ( the saying and the splotches)  coordinated with the images I used in the  “Oh Hello” stamp set.

You're Amazing scrapbook page

I plan to add journaling to the strip of Whisper White that runs along side the mat. I used Baked Brown Sugar and Marina Mist from my Series #4 color combination. The chevron pattern is trending right now and I decided to accent the pattern on the mat simply by stamping onto Whisper White, cutting it out and placing it in the bottom image.

Here is a peek at the “Oh Hello ” stamp set

Oh Hello stamp set

Til we meet again,

buy Stampin Up! here!

You’re Amazing , A Step -Up Birthday card

The You’re Amazing stamp set was the perfect match for Series #4 color palette of Marina Mist, Island Indigo & Baked Brown Sugar. I love how this step-up card turned out.

Your'e Amazing Birthday card

I love this elephant in this set. It reminds me of the elephant I created out of clay in 7th grade art class. In fact, I glazed it in a turquoise/blue-ish glaze! I just love going to the zoo and watching these huge mammals walk around. The magnificence of these creatures never bore me. Enough of that, let’s get back to the card.

I created the texture for this card with the Argyle Embossing Folder, stamping the splotches, adding the dots with the Signo Gel Pen. The gold glimmer brads add the glitz, add a little water coloring to the party hat and this elephant is a happy partyer!.

Wondering what set those trendy splotches are from?

They’re  from one of the My Paper Pumpkin Kits I received. I am loving receiving these monthly kits because they contain trendy stamps and projects that are quick to create.


Til we meet again,

buy Stampin Up! here!

Secret Garden thank you card

Secret Garden Thank you

Aren’t you just loving this In A Snap Series #3 color palette with the new In-Colors?

The new 2013-2014 In-Colors bring new life to many of the colors in our regular collections that you are going to want to purchase them all! Did you know that if you purchase the Cardstock & Pad Kit #131204 , which contains all 5 In-Color ink pads & 4 sheets, each color,(20 total sheets) of 8 1/2 x 11 you are getting the cardstock for twenty cents? That’s right, twenty cents! Check it out here on page 141. You can order these as well as anthing else you little heart desires (from our catalogs) at my ONLINE STORE.

If you look close you can see the hearts from the Adorning Accents Embossing folder running along the 2 flower images. It is this and the tone on tone stamping that gives this card its’ subtle texture.


Til we meet again,

buy Stampin Up! here!

Hearts A Flutter

Hearts A Fluter, A Step Up CardThis Step-Up card is done with the Hearts A Flutter stamp set. I could have used the Make A Wish stamp set like I did on my Facebook In A Snap card but wanted to show how you can adapt a layout to a different stamp set.

I used the Petite Pairs for the verse on the front of the card and on the inside. Petite Pairs is 25% off now through June 30th. Check out the detail here!


Here is the details of the pearl jewels I did along the bottom of the card & on the doily. Pearl details

The arm is slowly getting better!

Til we meet again,

buy Stampin Up! here!

Serene Silhouettes

Today’s share uses the Serene Silhouettes stamp set along with a sneek peek of 3 of our upcoming 2013-2015 In-Colors. I teamed up Baked Brown Sugar, Pistachio Pudding, and Strawberry Slush with my favorite color Crumb Cake.

serene silhouettesstamp set                    illuminate glimmer watermark ink


Did you see the version on my Facebook Page??

Until we meet again,

                                                             buy Stampin Up! here!

. . . and the answer is . . .

The answer to how many differences are there in the box I posted on My Facebook Page & the box I posted in this article. . .  Sadly only one person commented on how many differences there are and her answer was incorrect. I feel she still deserves to receive the prize because she commented. So Nancy, you will be receiving a gift in the mail from me soon!

Want to know the answer? Nancy said 4 but the correct answer is 5 and here they are:

  1. the belly band is embossed with the Framed Tulips embossing folder #121809
  2. a Daffodil Delight strip was cut using the scalloped edglit found in the Adorning Accents Edglits set # 125595
  3. the button center on the flower was switched out with a paper flower created with the 7/8″ Scallop Circle Punch #129404
  4. leaves were added by punching them out using the Blossom Petals Builder Punch #121808, then I crimped and sponged them
  5. I sponged all the edges of the box using a Stampin’ Sponge and Lucky Limeade ink

So, how did you do?

Mixed Bunch stamp set treat box

I created this treat box using the Mixed Bunch stamp set & the series #3 color palette of  Daffodil Delight, Lucky Limeade,Tempting Turquoise & Tangerine Tango. Can you see what I changed to the treat ox from the one I posted on my Facebook page? Count them and leave a reply with the number of differences you find.  I will put all names with the correct number into a drawing for a brand new accessory found in the New Annual Catalog! The drawing will be held on Thursday, May 23rd & I will post the winner on Friday, May 24th.

Mixed Bunch

To look at the Mixed Bunch treat box on my Facebook page click the link in the left hand column. Be sure to click on “like” in the upper right hand corner while there so you don’t miss any projects!

Til we meet again,

buy Stampin Up! here!

Mixed Bunch, color palette series #3

These flowers in the Mixed Bunch stamp set seemed to be the perfect image for this card. The series #3 color palette consists of ; Tangerine Tango, Tempting Turquoise, Daffodil Delight & Lucky Limeade. I think I was secretly wishing that winter would finally end when I picked the first 3 color palettes because they all have been bright,cheerful colors. Some of you have commented that you were surprised I haven’t used my favorite color, Crumb Cake. I am happy to let you know, Crumb Cake will be part of the series #4 color palette!! Woo! Hoo!

For this version of this card I used theWindow Frames Collection framelits to create the Tangerine Tango element. I paired it with the coordinating Festive Piercing Pack  to add the pierced details. Gotta love when Stampin’ Up! coordinates their products to help make creating easier for all.

Mixed Bunch  friend card

 I want to let you in a little secret~ I originally intended to have the Tangerine Tango element at the bottom instead of the top. Why did I change it? Well you see when I added the flower elements it reminded me of a face with one green and one blue eye and the curved piece made a smile!

I can see you tilting your head to see what I’m talking about. . . .

Too funny!!!!!!!


Here, I flipped it for you. . . .
Mixed Bunch stamp set

. . . . .  See, I told you.


Materials used:

Mixed Bunch Stamp set #125535 (w) #125537 (c)

Inks: Tangerine Tango, Tempting Turquoise, Lucky Limeade, StazOn Jet Black

Paper:Tangerine Tango, Tempting Turquoise, Lucky Limeade, Daffodil Delight, Whisper White

Accessories: Paper Piercer tool, Window Frames Collection # 129021, Festive Piercing Pack # 127857, 1″& 1 1/4″ circle punches, jewelry tag punch , Big Shot Die cutting machine

Note: The Jewelry Tag punch,  Lucky Limeade papers, inks, and accessories will not be available after June 3,2013 as they are on the retiring list.

Til we meet again,

buy Stampin Up! here!

In A Snap Step -Up Series #2; Butterfly card

Shop online ~ anytime for your Stampin’ Up! supplies.

you earn FREE stamps with Judi!

  The retiring lists have been released! Save up to 60% on some items! Visit here for lists.

If you liked the card I posted on my Facebook page you’re gonna love this butterfly one too! As I said, I can’t decide which layout I love more, this one or the over there.

For this last card of this Series #2 pattern, pattern and more pattern is the theme. I am not going to use the Moving Forward stamp set, instead, I am using the Elegant Butterfly punch and the  stamp set. I have also used all the colors in the series color palette; Island Indigo, Lucky Limeade, Real Red , and Tangerine Tango. I found that by having a layer of Island Indigo peek from the back of the butterflies it gave them more depth.

Butteefly cardMaterials I used are:

Stamps: Perfectly Penned #122890(w) #122892(c)

Inks: Island Indigo

Paper: Island Indigo, Lucky Limeade, Real Red, Tangerine Tango, & Whisper White

Misc: Tangerine Tango 1/2 Scalloped Dots Ribbon,Summer Smooches Designer Series Paper, Basic Rhinestone Jewels, Stampin’ Dimensionals, Bone Folder, Big Shot Die cutting machine, Houndstooth Embossing Folder, Apothecary Accents Framelits, Itty Bitty Paper Punch Pack, Elegant Butterfly punch

Til we meet again,

JudiAndersonSignature

Scrapbook Saturday, Moving Forward

Shop online ~ anytime for your Stampin’ Up! supplies.

you earn FREE stamps with Judi!

  The retiring lists have been released! Save up to 60% on some items! Visit here for lists.

A second page for my new grandbaby’s scrapbook. I know she will be bound to play with frogs when she goes away on a weekend away with us. Our own children just loved going to the “frog pond” when they were little so this will definately be on our “to do” list when she is old enough.

I used the flower and frog images from the Moving Forward set to create this fun page. The colors are Island Indigo and Lucky Limeade. DSC00370

The chevron is a strip of patterned paper is from our Summer Smooches Designer Series paper. I also used 2 more different designed paper from this paper pack on the tab element.  That’s a kinda big tab wouldn’t you say?

Wonder why. . . .

I created the flower border by stamping the images side by side. This is really easy- I didn’t even have to use the stamp-a-ma-jig!flower border

And  just how cute are those frogs bouncing their way across the bottom of the page? I see that big smile they put on your face! frog border


Now for that tab . . . . . . . . .

secret journaling tab

It is for either hidden journaling or more pictures!

I often tuck elements like this on my scrapbook pages, I use them for special journaling or pictures that I want to share with my special someone. If you have attended my events you have learned a few different ways to do this.

I started doing this when my children would say to me,” Mom, can you put a piece of paper over that,I don’t want everyone to see that.”  They liked the pictures or what I wrote but just didn’t want to share it with everyone looking at their book.  Most people looking at the pages won’t know I have tucked something in the page. Sneeky, huh?


Don’t forget the Moving Forward stamp set will be retiring and not be available after June 2,2013. To see all the images in this set just go here.

Til we meet again,

JudiAndersonSignature