A special card for a special dog lover

Creating a special card for a special dog lover is sometimes hard to make, especially when they lose their friend. My family are animal lovers and have felt the pain of losing a pet that has won your heart. Often at a loss for words, I find I can express myself when I create a special card for my friends.

I find the products in the Playful Pets Suite (#154136) perfect for a variety of cat & dog cards. My granddaughter loves the “weenie dog”. She says it is just like her dog Raven and she loves Raven!

The images in the Playful Pets Designer Series Paper (#152489) contains a variety of species of dogs, cats and images that coordinate. The coordinating dies will cut out some of the images from the paper as well as the stamps. We all love to save on our paper crafting supplies….You not only save 10% on the bundle (stamps & dies) but during October you can also save 15% on the Pampered Pets Designer Series Paper! Take a peek at all the papers on sale through 10/31/2020 here.
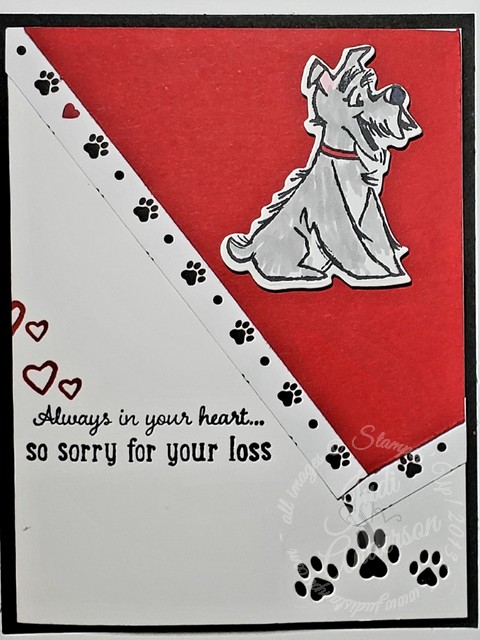
pet sympathy card using Playful Pets Suite
Images © 1990 – 2020 Stampin’ Up! ®

I’m using all but the trim and trinkets in my card for my friend. Cut the sheet of paws into strips creating an edge for the Real Red mat. I ran the edges of these strips along my Memento Ink Pad to create black edges. I then colored the pup with my light and dark Smokey Slate Stampin’ Blends. Don’t you just love those paw print cut outs? I love using these as cut outs and as a stencil along a card edge.

What could make a card for a special dog lover more special?

Put the rear end of the pup on the inside of the card!
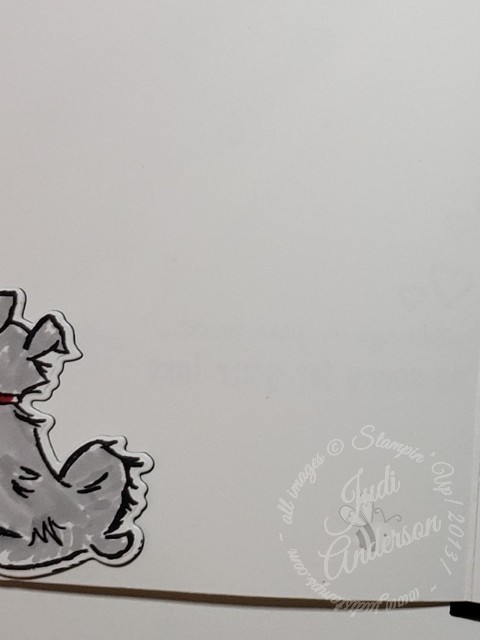
dog bum
Images © 1990 – 2020 Stampin’ Up! ®

I stamped and cut out this image also. I then put on the inside of the front of the card. Did you notice it is partially cut off? I intentionally did this to make it look like it is peeking to the front.

Judi's online store

October Host Code: N3RZUMJD

What you can do to avoid boredom while staying inside

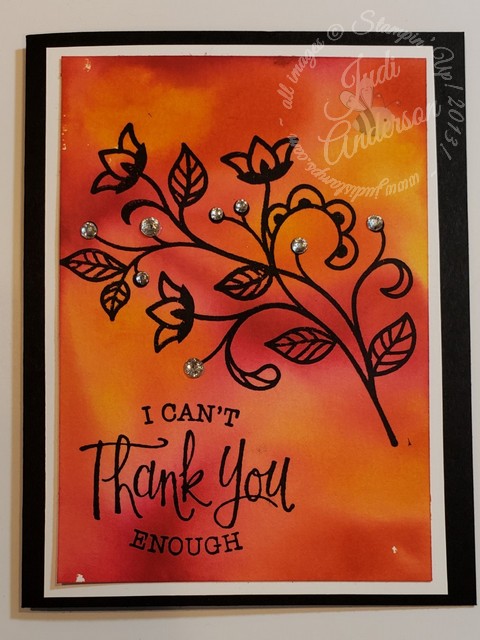
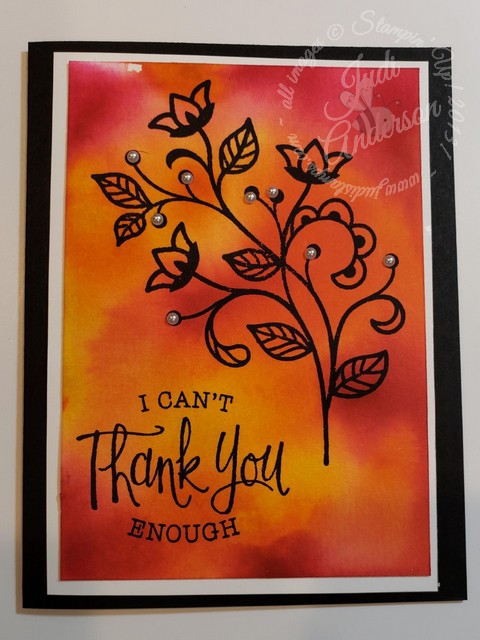
What you can do to avoid boredom might be easier than you think! Are you running out of things to do to keep you and your children busy after 3 weeks of staying in your home? This fun technique will keep you and your children busy for hours. Creating a fun way to do art and learn about colors is quite easy with this technique I am sharing with you today.

Flourishing Phrases and smashed ink refilll technique you can do to avoid boredom
Images © 1990 – 2020 Stampin’ Up! ®
Card with rhinestone jewels

Materials needed for this project are:

  • a vinyl table cloth to protect your table,
  • two – three ink refills
  • Water spritzer with a fine mist
  • Fluid 100 Watercolor Paper
  • window sheets/cello bags/or plastic wrap (cut larger than Watercolor paper pieces)

Let’s get ready!

Cover your table, it’s about to get messy! Cut your Whisper White cardstock into pieces measuring 4″ x 5 1/4″. Let them choose two to three ink refill colors. I am sure they will be experimenting with different color combinations. Surprisingly, half the fun will be learning how two colors will create a third color when they combine together. Guiding your children with their color choices will help with their project not end up being a muddy mess .

Here are the products I used to create the card in this video.

Click here to purchase the products used in this video.

  • Flourishing Phrases Stamp Set #151407
  • Staz On ink pad #101406
  • Pineapple Punch Ink Refill # 147180
  • Calypso Coral Ink Refill #122934
  • Melon Mambo Ink Refill #115662
  • Fluid 100 Watercolor Paper #149612
  • Stampin’ Spritzer #126185

Let them have fun and get messy!

Getting ink on their hands is sure to happen. Don’t worry, it will eventually wash off with a little soap and water. I guarantee your children won’t be patient enough to wait for their creations to dry. Have them create the mats one day. Let them dry overnight. The next day they can use markers or crayons to create a unique drawing or stamp images on the mats.

Now to decide what to do with these works from their heart! They may choose to adhere them to card bases and send off to someone to put a smile on their face. They may choose to add them to a frame to give as a gift. Whatever they decide, your children will be proud of the end result and not even realize they were learning while creating.

Flourishing Phrases with the smashed refill technique you can do to avoid boredom
Images © 1990 – 2020 Stampin’ Up! ®
Using Pearls Jewels

Do you or your children love to paint or water color? Check out this other technique that can help when you hear,”I’m bored!”

Who knew? A technique you use on hand made greeting cards can help you when you are thinking up things to do with your children & what you can do to avoid boredom.

Judi's online store

A truck full of toilet paper, create a fun greeting card!

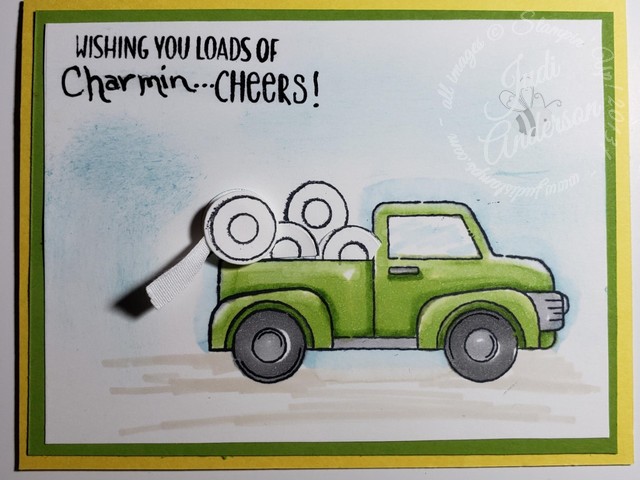
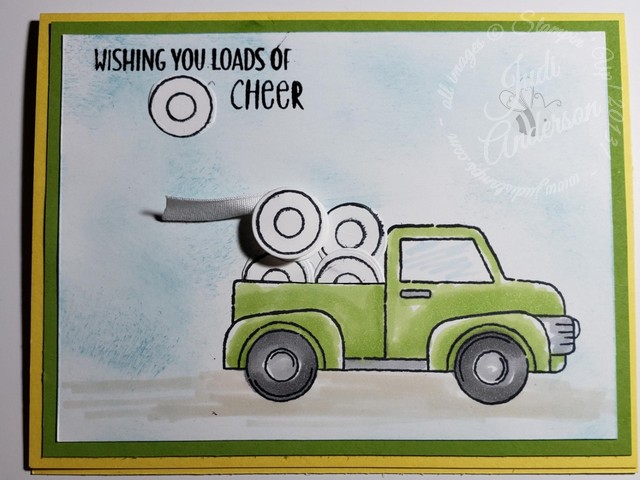
Is a greeting card with truck full of toilet paper appropriate for a gift? We have some wonderful neighbors that have helped during this time of social distancing. We wanted to give back in some way so my husband asked if I could make a few greeting cards but they had to have a bit of humor.

A truck full of toilet paper came to me in my dreams!

Ride with Me stamp sets makes a truck full of toilet paper fun greeting card!
Images © 1990 – 2020 Stampin’ Up! ®

Laying in bed, drifting into sleep, I was thinking of the cards my husband wanted me to make. And that’s when it hit me. I needed to use the Ride With Me Bundle (# 151106). The tire stamp and die are perfect for rolls of toilet paper!

I gathered up some supplies and began creating 5 cards of one design using different colors.

Besides the Ride With Me Bundle I used the following supplies in creating my greeting cards.

  • Memento Tuxedo Black Ink Pad #132708
  • Balmy Blue Classic Ink Pad #147105
  • Granny Apple Green Light Stampin’ Blend #146876
  • Balmy Blue Light Stampin’ Blend #148540
  • Crumb Cake Light Stampin’ Blend #144582
  • Smokey Slate Light & Dark Stampin’ Blend #145058
  • 2018-2020 In-Color carstock #146973
  • Granny Apple Green cardstock #146990
  • Whisper White cardstock #100730
  • Basic Black Stampin’ Write Marker #100082
  • Whisper White 1/4″ Crinkled Seam Binding Ribbon #151326

It so much fun designing the toilet paper cards. I knew I wanted them to be bright and fun bringing a smile on the recipients face when they opened the envelope. But, I also wanted to personalize each in some way. That’s when I decided to change up the colors I used in making each card. The video below shows you one of the color combinations I used for the five cards I made.

Images © 1990 – 2020 Stampin’ Up! ®

Are you wondering what the gifts are that these cards were attached to? I made a few batches of caramel chocolate chip brownies and wrapped up a roll of toilet paper. They loved them! And they loved the cards too!

Images © 1990 – 2020 Stampin’ Up! ®

Do you have someone that has done something special for you that would appreciate one of these cards with a truck full of toilet paper?

Judi's online store

Let’s make Easter Baskets!

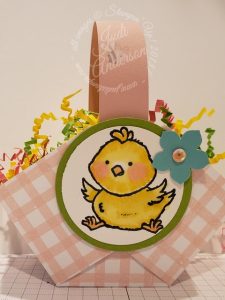
Let’s make Easter Baskets! I’m making several of these to put onto the porches of neighbors in hopes to put a smile on their faces. These quick & cute Easter Baskets can be decorated any way you wish and filled with a variety of treats.

The pattern I am sharing with you today is quick and easy to duplicate. You will use very little materials and can use up a lot of elements you have lying around to decorate these.

Are you ready to make Easter Baskets too?

Gather up some paper you have laying around, any cardstock or Designer Series Paper will work. You will need to cut the paper into 6″x6″ squares. Using a scoring blade and your Paper Trimmer, score at 2″ and 4″. Turn your paper 90 degrees and score at 2″ and 4″. I explain what to do next in this video.

Images © 1990 – 2020 Stampin’ Up! ®

Can you believe how easy those were to make? This is another project you can have your children help with. Your older children can assemble the baskets. Have the younger children stamp, color, or punch out different elements to decorate their baskets. The possibilities are endless. I can imagine doing baskets in Pacific Point cardstock and filling it with an egg decorated like a Minion.

I used the Welcome Easter stamp set (151559) for decorating the basket below. This & the other images in this set also make an adorable baby shower favor or May Baskets for friends. In fact, the set has a verse for each of these occasions too!

Welcome Easter stamp set for a quick and easy Easter Basket
Images © 1990 – 2020 Stampin’ Up! ®

Fill the baskets with a few goodies, attach a little note and drop them off on the porches of those you wish to bring a smile of joy to.

Gather your children and after they are done coloring eggs today. Gather up the materials ahead of time and you can surprise them when you say, “Let’s make Easter Baskets!”

Judi's online store

Techniques can help with boredom!

Techniques can help with boredom of staying indoors. Techniques are fun,relaxing, and often unpredictable. There are no mistakes when creating with techniques because in most cases, each try results in a different look.

I have been playing around with some water coloring techniques this past week. Let me share one with you now.

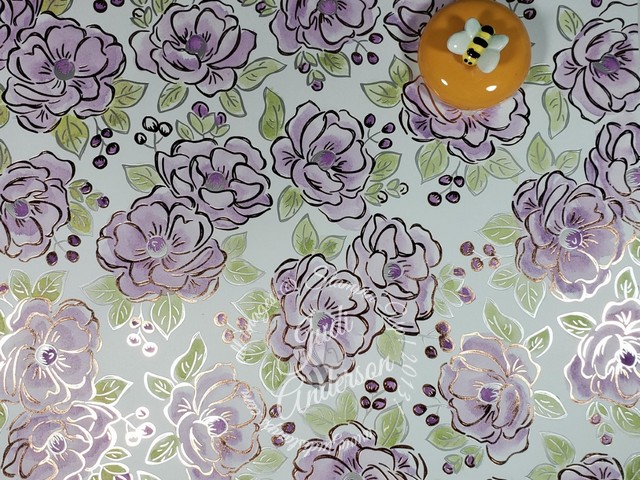
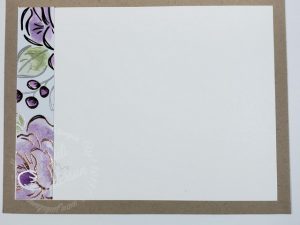
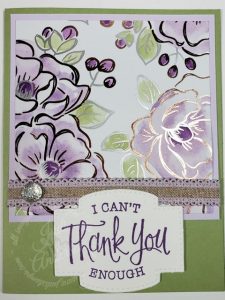
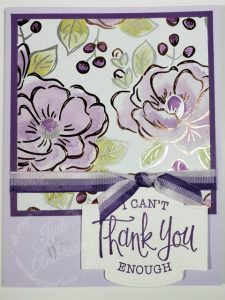
This picture shows the result of water coloring using an aqua painter with Highland Heather, Gorgeous Grape, and Pear Pizzaz inks. Using the Flowering Foils Specialty Designer Series Paper made doing the technique quick and easy. Members of my HapBEE Stampers Community Page received a free class last week showing how to create this gorgeous look.

Flowering Foils Designer Series Paper
Images © 1990 – 2020 Stampin’ Up! ®

I did a section of the paper when demonstrating the technique in the class. Sharing my tips of water coloring included how to load the ink achieving different depths of color. One tip I will share with you is not to keep layering color on. Let your ink dry, then add more ink if you think it is needed. By letting the ink dry you avoid over-saturation of the paper and you let the water do the work for you. I couldn’t wait to finish the entire sheet when the class finished. This technique can help with boredom and relaxation!

Flowering Foils Designer Series Paper
Images © 1990 – 2020 Stampin’ Up! ®

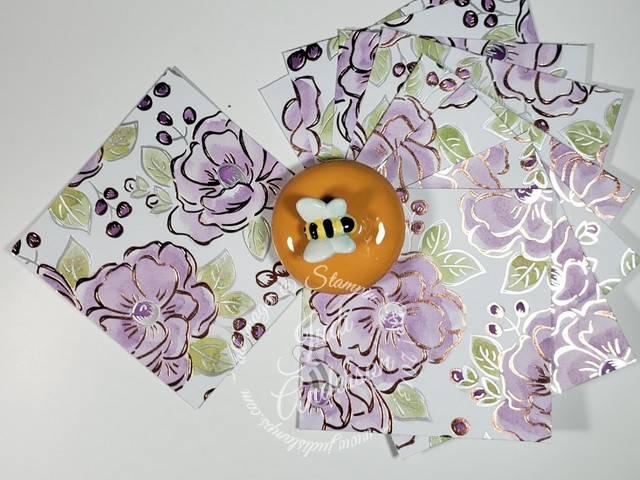
I cut the paper 9, 4 x 3 1/8″ pieces. Every piece of this 12″x 12″ Designer Series Paper was used. The 3/4″ strips decorated the inside of the cards.

Flowering Foils Designer Series Paper
Images © 1990 – 2020 Stampin’ Up! ®
Flowering Foils Designer Series Paper
Images © 1990 – 2020 Stampin’ Up! ®

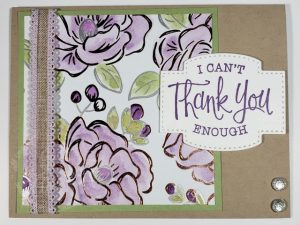
I used Pear Pizzazz, Crumb Cake, Purple Posy, and Gorgeous Grape as card bases and mats. Achieve a variety of looks just by changing up which papers you combine on your cards.

Flowering Foils Designer Series Paper
Images © 1990 – 2020 Stampin’ Up! ®
Flowering Foils Designer Series Paper
Images © 1990 – 2020 Stampin’ Up! ®

Don’t you just love this water coloring look? I hope it inspires you to try it and see personally, how techniques can help with boredom.

Until we meet again. . .

Judi's online store

Well Dressed stamp set featuring a retro 40’s vibe

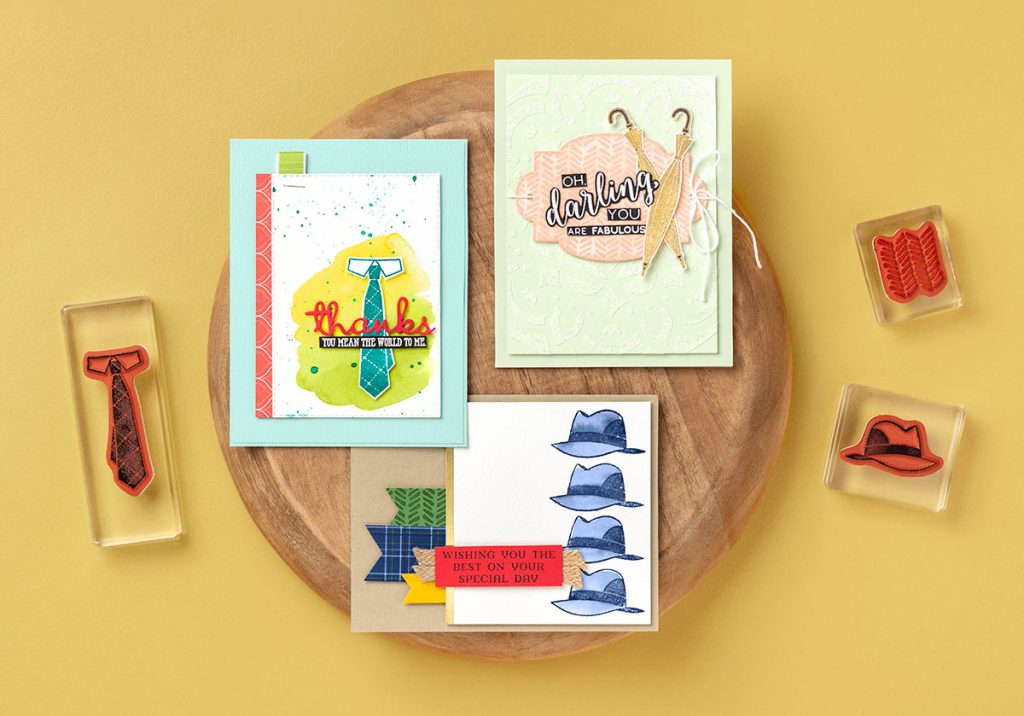
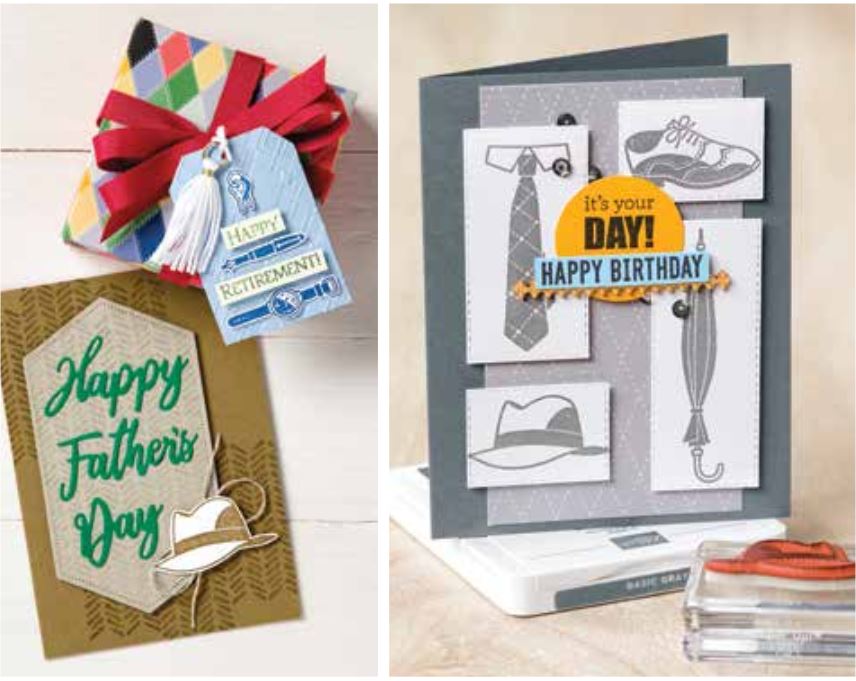
The new Well Dressed Stamp Set featuring a retro 40’s vibe (item 152300) is one of the second release Sale-A-Bration products. This set is one of the three new Level One products recently released and is available through March 31,2020.

Well Dressed stamp set samples
Images © 1990 – 2020 Stampin’ Up! ®

Coordinating with other products is easy!

All level stampers will find the 8 cling stamps easy to use in project. You can add to the retro feel by pairing it with the Country Club Designer Series Paper (D.S.P.). This D.S.P. is found on page 47 of the January – June Mini Catalog.

Do you know a special someone who golfs? The Well Dressed stamp set, coordinates with the Clubhouse stamp set (151583). Continuing the retro 40’s vibe is easy when you include the hat & shoe images.

My favorite image from this stamp set is the hat. It reminds me of me the gray one my grandfather used to wear. When you color it like above, it may remind you of Clark Kent (Superman), or maybe, even Dick Tracy when colored yellow.

Well Dressed stamp set samples
Images © 1990 – 2020 Stampin’ Up! ®

A little more about Sale-A-Bration

Sale-A-Bration 2020 ends soon, have you checked out all of the second release products? We released three, new, Level one products and two, new, Level two products that you can earn for free (while supplies last). Check them out here.

I will be sharing a few more of the newly released products throughout these final days of Sale-A-Bration & want to remind you that they are available while supplies last. (a few have already run out). Place your order at my online store today to make sure you get your favorites! Before you do, you’re gonna want to check out another sample using a Sale-A-Bration stamp set here.

The Well Dressed stamp set is perfect for those who like distinctive, masculine stamp sets. It’s great for Father’s Day, birthdays—or just to make that handsome guy in your life feel loved.

Judi's online store

Happy Birthday To You without the cake!

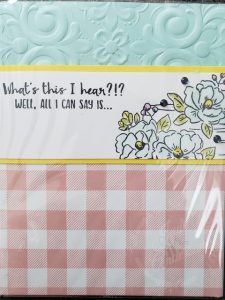
You may not have thought of using the Happy Birthday to You stamp set without the cake image but look at this cute greeting card design. This design uses the flowers without the cake! . At first glance, you may not consider using only the flowers. . .but look at those gorgeous flowers!

Happy Birthday To You 2020 Sale A Bration Set
Images © 1990 – 2020 Stampin’ Up! ®

This card is a great way for those just starting out in the stamping world to stretch their options with the Happy Birthday to You set. As you can see with this card, you can really change the look of the set by taking a strip of Whisper White cardstock and stamping only the section that has the flower images across it. If you look closely, you can see the cake but it seems to disappear and look like a background to the flowers. I used my Watercolor Pencils and Aqua Painter to color the images but you could leave them uncolored if you stamped them in the coordinating ink color.

In creating this card I used the Buffalo Check background stamp and Blushing Bride ink to stamp the bottom portion of the Whisper White card base. I embossed a piece of Pool Party with the Parisian Embossing Folder and adhered it to the top of the card base. Layer a Daffodil Delight piece of cardstock that is 1/4″ wider than the stamped piece, and adhere it to a Whisper White card base between the Pool Party and stamped bottom. Add your stamped piece with a verse in the upper left corner and you are done! How quick was that?

To see another card I shared using this stamp set, click here.

Do you have other large image stamps that you could use this technique with? Just remember, The Happy Birthday To You stamp set is more than a cake.

buy Stampin Up! here!

Stampers By The Dozen are doing non-holiday this month.

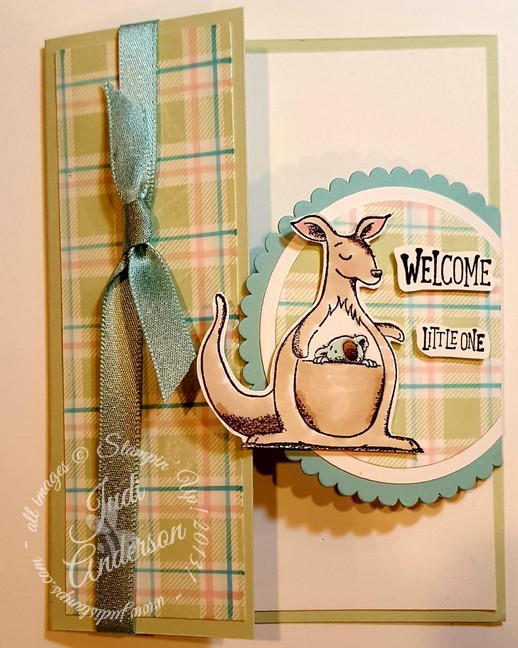
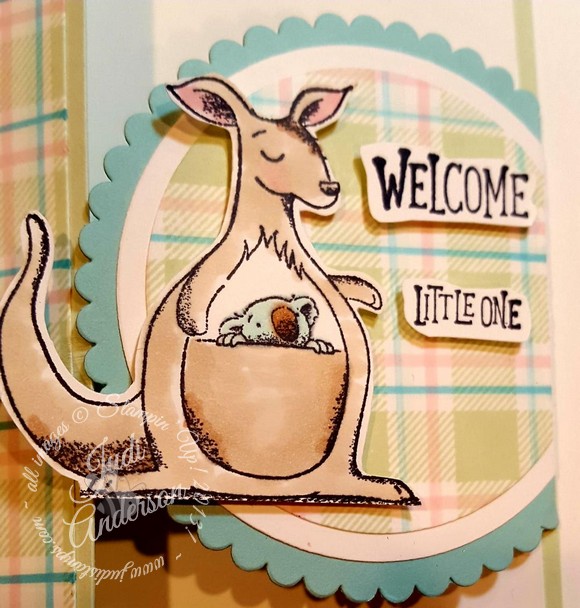
The Stampers By The Dozen are doing non-holiday for our Blog Hop this month. Soon Christmas will be over and you will be looking for some fun projects to create. This baby card uses a combination of products from our Holiday catalog and Annual catalog. The Buffalo check stamp set will be held over, boy am I happy!! I love that you can create different looking plaids with this background stamp. The Animal Outing stamp set can be used for a wide variety of cards (this is a must-have in my opinion!).

Images © 1990 – 2018 Stampin’ Up! ®

This card is a special fold card. I cut my cardstock at 6 1/4″ x 5 1/2″ and scored at 2″. I then adhered a circle to the right edge of the card base. Don’t you just love the plaid background I made? I used a combination of inks and Blends on a 4 1/4″ x 5 1/2″ Whisper White cardstock to create it.

Here’s a detailed look of the circle element.

Images © 1990 – 2018 Stampin’ Up! ®

I used Memento ink to stamp the kangaroo & verses from the Animal Outing stamp set. I then colored the kangaroo with the following Stampin’ Blends; Light Pool Party & Crumb Cake, Petal Pink, & Bronze. I then fussy cut the image and around the verses.

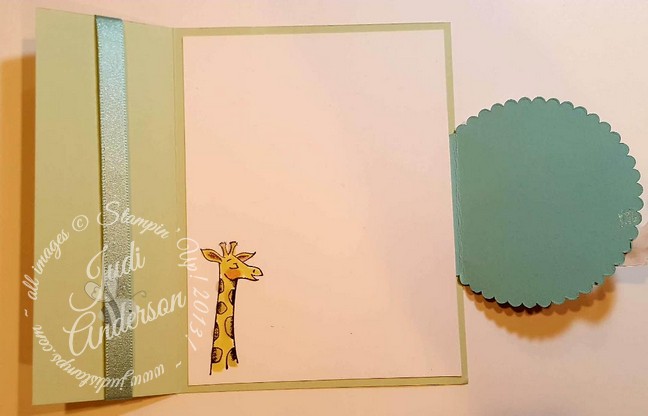
Just like a baby is a happy surprise, so is the inside of this card.

Images © 1990 – 2018 Stampin’ Up! ®

This giraffe is popping in to say welcome too! I have left the inside of the card empty so I can personalize it when I give it.

Let’s see what Susan is sharing with everyone this month!

buy Stampin Up! here!

I hope you are enjoying this fun break from the holiday rush with our non-holiday theme this month for our Stampers By The Dozen Hop.

Click here to watch my Live, Online class where I showed,step-by-step how to create this card.  Be sure to click “like” and “Notifications” to watch future classes!

Our Year-End Close-Out is still happening! Click this photo to check it out. . .

Exclusive, Snowflake Showcase is going away soon!

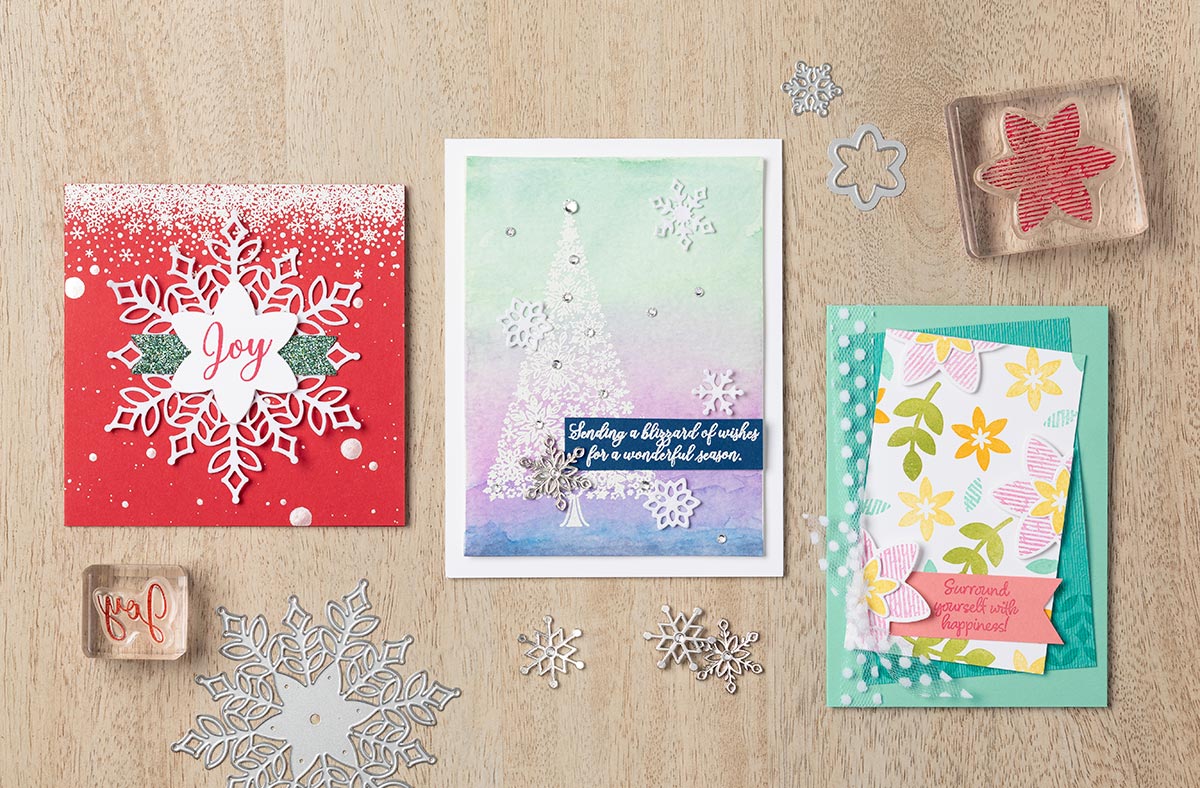
The Snowflake Showcase is an exclusive product offering for a limited time and going away soon! Products are available while supplies last until November 30, 2018. This exclusive offering is great for all year stamping projects. You won’t find it any easier to create a snowy wonderland or spring and summer flowers,using this incredible assortment of products. With two stamp sets, paper, accessories, and dies, the only limit is your creativity!

Place your order through :

My Online Store

and start creating your own snowy wonderland.

Images © 1990 – 2018 Stampin’ Up! ®

buy Stampin Up! here!Online Extravaganza ends tomorrows,

check the details by clicking here.

Exclusive, Limited time offer~ Snowflake Showcase is available beginning today!

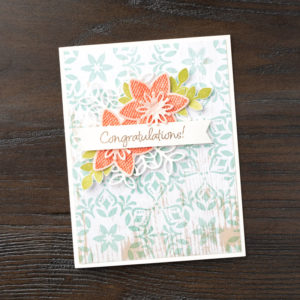
Look at this beautiful Snowflake Showcase! Can you believe we have another stunning collection of snowflakes for the upcoming holiday season? These exclusive, limited time products are available beginning today, Nov 1,2018 through Nov 30,2018 or until quantities last. The variety of looks you can achieve with this set is endless. Let’s take a look at a few samples.

I love how this first card isn’t winter themed at all! See, snowflakes aren’t just for winter! To me, it shows the versatility of the stamps. Really cute, don’t you think?

Images © 1990 – 2018 Stampin’ Up! ®

or how about this one. . .

Images © 1990 – 2018 Stampin’ Up! ®

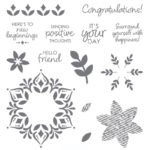
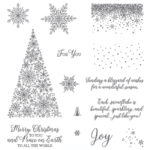
This is the list of the products in the Snowflake Showcase

  • Happiness Surrounds Stamp Set   #149744   $17 USD

  • Images © 1990 – 2018 Stampin’ Up! ®
  • Snow is Glistening Stamp Set         #149742   $21 USD

Images © 1990 – 2018 Stampin’ Up! ®

  • White Velvet Paper #149619    $5 USD

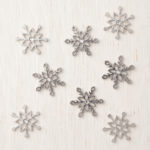
  • Snowflake Trinkets                           #149620   $8 USD

(I love trinkets,don’t you?)

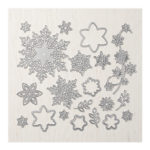
  • Snowflake Thinlits                             #149692  $39 USD

Images © 1990 – 2018 Stampin’ Up! ®

Let me share a few more fun samples with you.

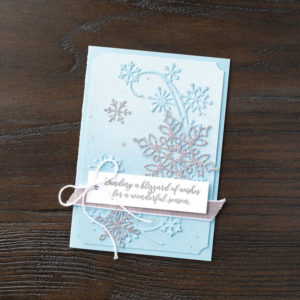
This next one is using the dies and don’t you just love the flourish with the glimmer snowflakes…WOWSERS! ,you talk about a real stunner! This one is sure to amaze your friends and family.

Images © 1990 – 2018 Stampin’ Up! ®

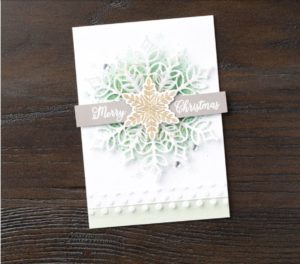
This one is my favorite. I love the velvet paper. I think I am going to have a fun time playing with this fuzzy paper!

Images © 1990 – 2018 Stampin’ Up! ®

Watch this video to see all the products in this wonderful Snowflake Showcase.

You can order the product in this Showcase,here, through my ONLINE STORE.

Be sure to use this Hostess Code: CHVPSBDA

to receive a gift from me when you purchase $40 (before S&H and Tax)

buy Stampin Up! here!

Pair Perennial Birthday with Frosted Floral Specialty Paper for a beautiful fall card

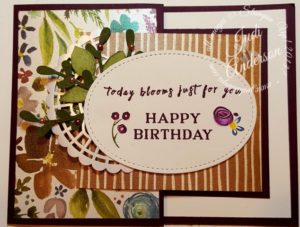
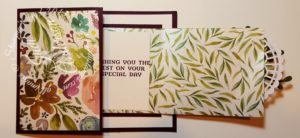
I paired the Perennial Birthday stamp set with our Frosted Floral Specialty Designer Series Paper (147800)for a beautiful fall floral card for this month’s Stampers By the Dozen Blog Hop. Let me say, this specialty paper is absolutely beautiful! Every sheet has a pearl finish, on both sides, that adds an elegance that you must see! There are several different floral patterns as well as stripes, patterns, and leaves. It pairs beautifully with the coordinating First Frost stamp set but I am sure that you can get more use out of sets in your collection because of all the different florals in it. I chose the Perennial Birthday stamp set rather than just reaching for the coordinating First Frost (148420)stamp set. The result is this beautiful special fold  card.

Images © 1990 – 2018 Stampin’ Up! ®

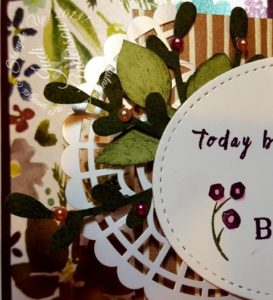
This card isn’t just any card. The soft Suede striped layer is actually a mini card adorned with a Pearlized Lace Doilie (146936), a Pear Pizzazz leaf (punch 144667) and Mossy Meadow sprigs (punch 148012).

Images © 1990 – 2018 Stampin’ Up! ®

I added an assortment of our Share What You Love Artisan Pearls (146927) which coordinate beautifully with the Frosted Floral Specialty Paper. I just love how many of the products in the Annual Catalog coordinate with products in the Holiday Catalog, don’t you?

Images © 1990 – 2018 Stampin’ Up! ®

The Blackberry Bliss card base brings a true richness to this card and is a perfect color for fall. I hope you are enjoying this month’s Blog Hop with all the gorgeous fall floral projects. Let’s hop over to Susan and see her project.

Hop Roll Call

Karie Beglau

Judi Anderson   – YOU ARE HERE
Susan Simpson
Tricia Butts

Courtenay Heuston
Tashana Lundy
Carly Middleton

Sharleen Luciano

Anastasia Radloff

Deb Naylor

Dena Albee

Laura Mackie

All products used in this project can be purchased through MY ONLINE STORE.

This month’s Specials:

Judi’s GOING FOR GREECE SPECIAL: purchase $100 through my Online Store through September 24th and choose $20 in free product! *Email me at: judi@judistamps.com with your choice of product (can not go over $20)

Join the Fun  

When you decide to join my team & the Stampin’ Up! family you pick your choice of $125 in current product and pay just $99! Contact me today for more information or get started right away on my website by clicking HERE!

buy Stampin Up! here!

Blended Seasons for SBTD Blog Hop

I am loving the Limited Edition Blended Seasons Bundle that is only available through August 31st or while available. I have featured this bundle in all my events this month and everyone is impressed and loving it’s versatility and how it is perfect for just about any occasion.

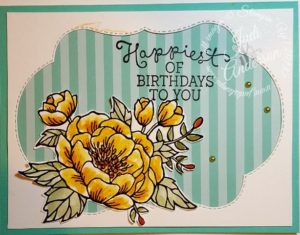
I wanted to show how well the thinlits in this bundle coordinates with stamp sets you may already own for this month’s hop. I paired the largest framelit  with the Birthday Blooms (140658) stamp set.

I stamped the flower image onto Whisper White and water colored it using Mango Melon, Soft Seafoam & Mossy Meadow inks. I used my Calypso Coral Stampin’ Write Marker for the flower buds and flower center to add depth and a little more pop of color. I then fussy cut this image.

My card base is Coastal Cabana and I used the striped Coastal Cabana Designer Series Paper from the Brights 6×6 Stack. I cut the largest framelit out of Whisper White and used the negative piece. I love how these framlits have the stitching on the positive and negative cut outs!  This color combination isn’t one that may come to mind to you but I love it, the result is a birthday card that is bright and cheery. The added touch is the lightest pearls from the Share What You Love Artisian Pearls.

Be sure to check what the others from around the world have created for the Stampers By The Dozen Blog Hop have created for you this month. Click below for Susan’s project.


buy Stampin Up! here!

My teachers assistant

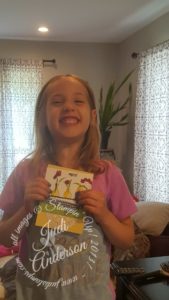
I have had a teachers assistant at my classes this month, it is my 5 year old granddaughter. I have had the joy of having my two grandchildren, Samantha 5 & Hunter,2, for a sleepover with grammy for 3 days which fell on two of my satellite stamp class dates.

Samantha loves to craft and is always wanting to go to the Stamp Studio to stamp and create. When she saw I was putting together my July class kits she wanted to help. She helped me cut out dies using the Big Shot and stuffed the envelopes with all the materials. Is was fun to watch her as she organized everything on her own. What was Hunter doing while we were prepping? He was either taking his nap, playing with the school bus or helping us.

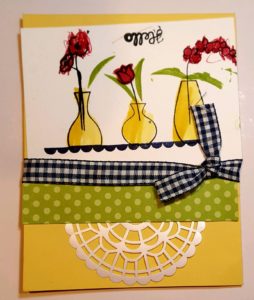
They both got to attend the classes too! Sunday I had my monthly Coffee & A Card Class at the local Panera Bread. We went a little early to set up for everyone. They helped me put out the place mats and make sure we had enough chairs for everyone. Samantha was a great teachers assistant as helped instruct the gals and stamped her own card. Here’s Samantha’s card.


She was SO proud of her card!

She even wrote this inside: ” Happy Birthday U.S.A.

From Sam”


Here’s my sample:


We took my July 3/$10 class to Tinley Park, and Sam reminded everyone to be careful, and which stamp pad they were to use and how to stamp.

Samantha reminded me that she wants to be a teacher and a mom when she grows up, this was great practice for her.

I really enjoyed having a teachers assistant and hope Samantha is able to help again soon.

CRUISE SPECIAL : Place a minimum $25 order from 7/20 – 7/27,2018, use hostess code: YEUACVHY and receive these FREE!

Buy 3 Get 1 FREE Designer Series Paper Special


FREE Family of Ink Pads when you join our

    HapBEE Stampers in Ink Family

                              July 1-31!

buy Stampin Up! here!


Card Re-Do for the Stampers By The Dozen July Hop

We were asked to go into our older card samples to find a card  to re-do for the Stampers By The Dozen blog hop this month. This wasn’t an easy feat since most of my older work is in storage since our move.  It was fun going through my card samples, this particular card reminded me of the first cruise and big vacation we took as a family. I bought this set to do my memory album of this vacation of many firsts.

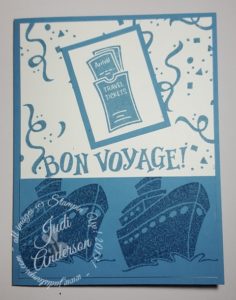
I was able to find this card from one of my first beginners classes, this card taught them about solid image stamps and using a mono chromatic color scheme. The Bon Voyage stamp set and Bordering Blue cardstock and ink were used for this card. How many of you still have some of the retired Bordering Blue? I do!

Now for the re-do card. . . .

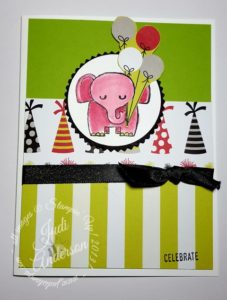
While I didn’t use any Designer Series Paper on my  card sample card, I decided to use some  on my updated,re-do card, I love, Love, LOVE the Broadway Bound specialty designer series paper (#146277)! Why? I love the bright colors on one side and then the beautiful black and gold foil designs on the other. I used the, A Little Wild stamp set (w-#143671, c-#144344) as my focal point. Who could resist this adorable elephant?. . . especially when it is Lipstick Red!

You just might be thinking,”Judi, this card has more layers than your original.” Let me go through how I looked at my original card; bottom layer- the ships, second layer, the words, the ticket the embellishment.

I loved this card so much that I decided to use it at my Hostess Card Clubs this month. It is easy to create and you can’t help but smile when you see it. Everyone had a different number of balloons to fussy cut as they are from the Broadway Bound specialty designer series paper. If you’d like more info on how you can learn new tips, tricks and techniques while spending time with others who love to stamp send me an email.

If you are having a creative block why not reach into your card stash and re-do it? You might be amazed at how fun it is to do this!

Let’s see what Karie and the others have re-done!


CRUISE SPECIAL: Place a minimum $25.00 online order HERE, using Hostess Code:  YEUACVHY

Receive a package of our Share What You Love Artisan Pearls from me!

Buy 3 Get 1 FREE Designer Series Paper Special


FREE Family of Ink Pads

when you join our

HapBEE Stampers in Ink Family

July 1-31!

buy Stampin Up! here!

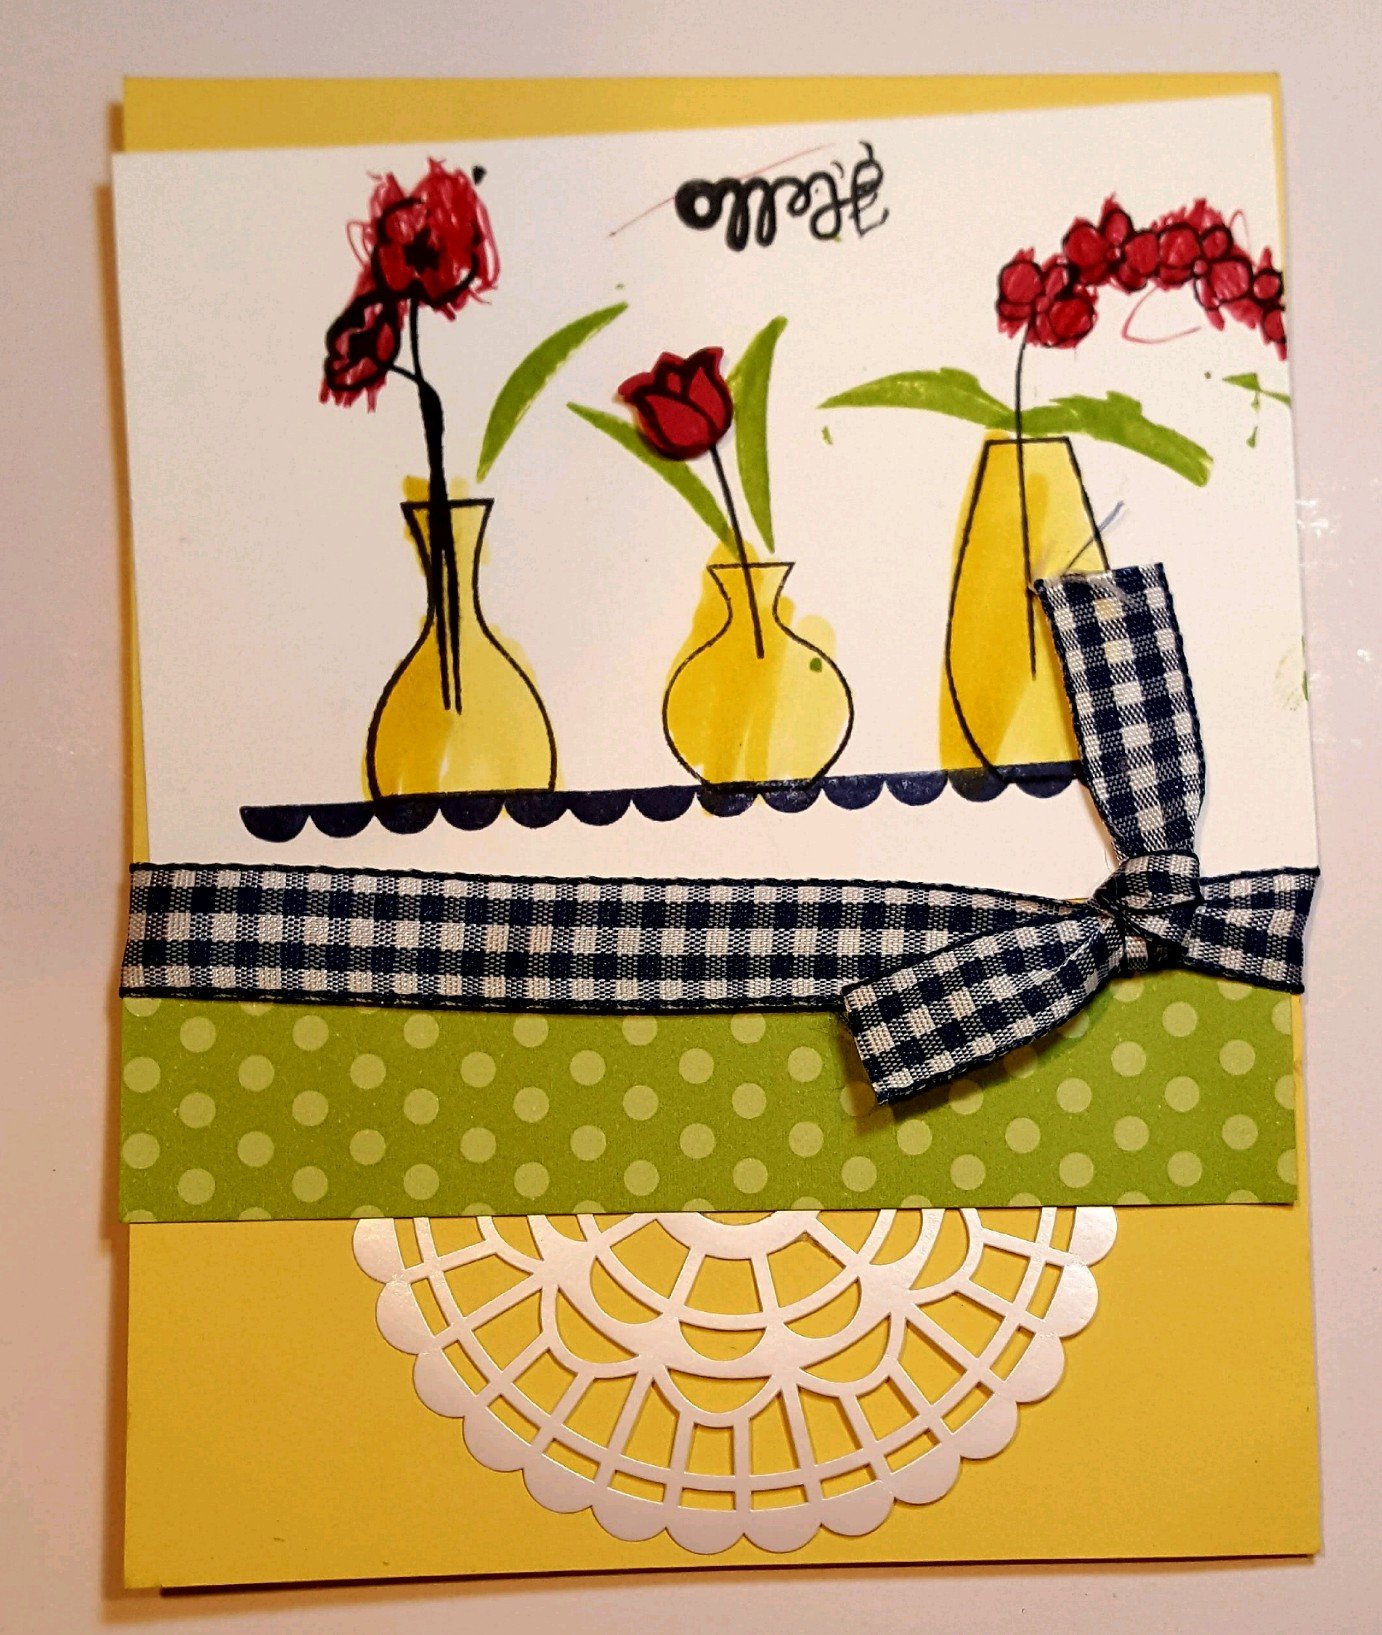
Varied Vases for Coffee and a Card

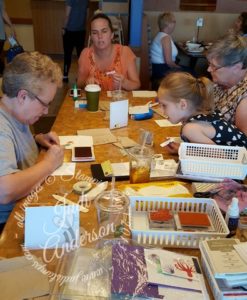
I am held my Coffee and a Card Sunday morning and have chosen to use the Varied Vases stamp set for our card. I hold this class the first Sunday of the month at a local coffee shop. We have several people attend to enjoy chatting & stamping over a cup of coffee. We love getting to know each other better every time we get together. Some of the gals arrive a little early for breakfast. We have also had others ask what we are doing, some even sit down and join us!

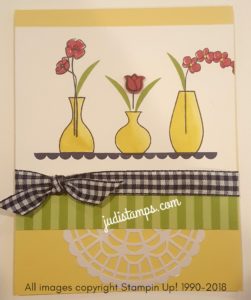
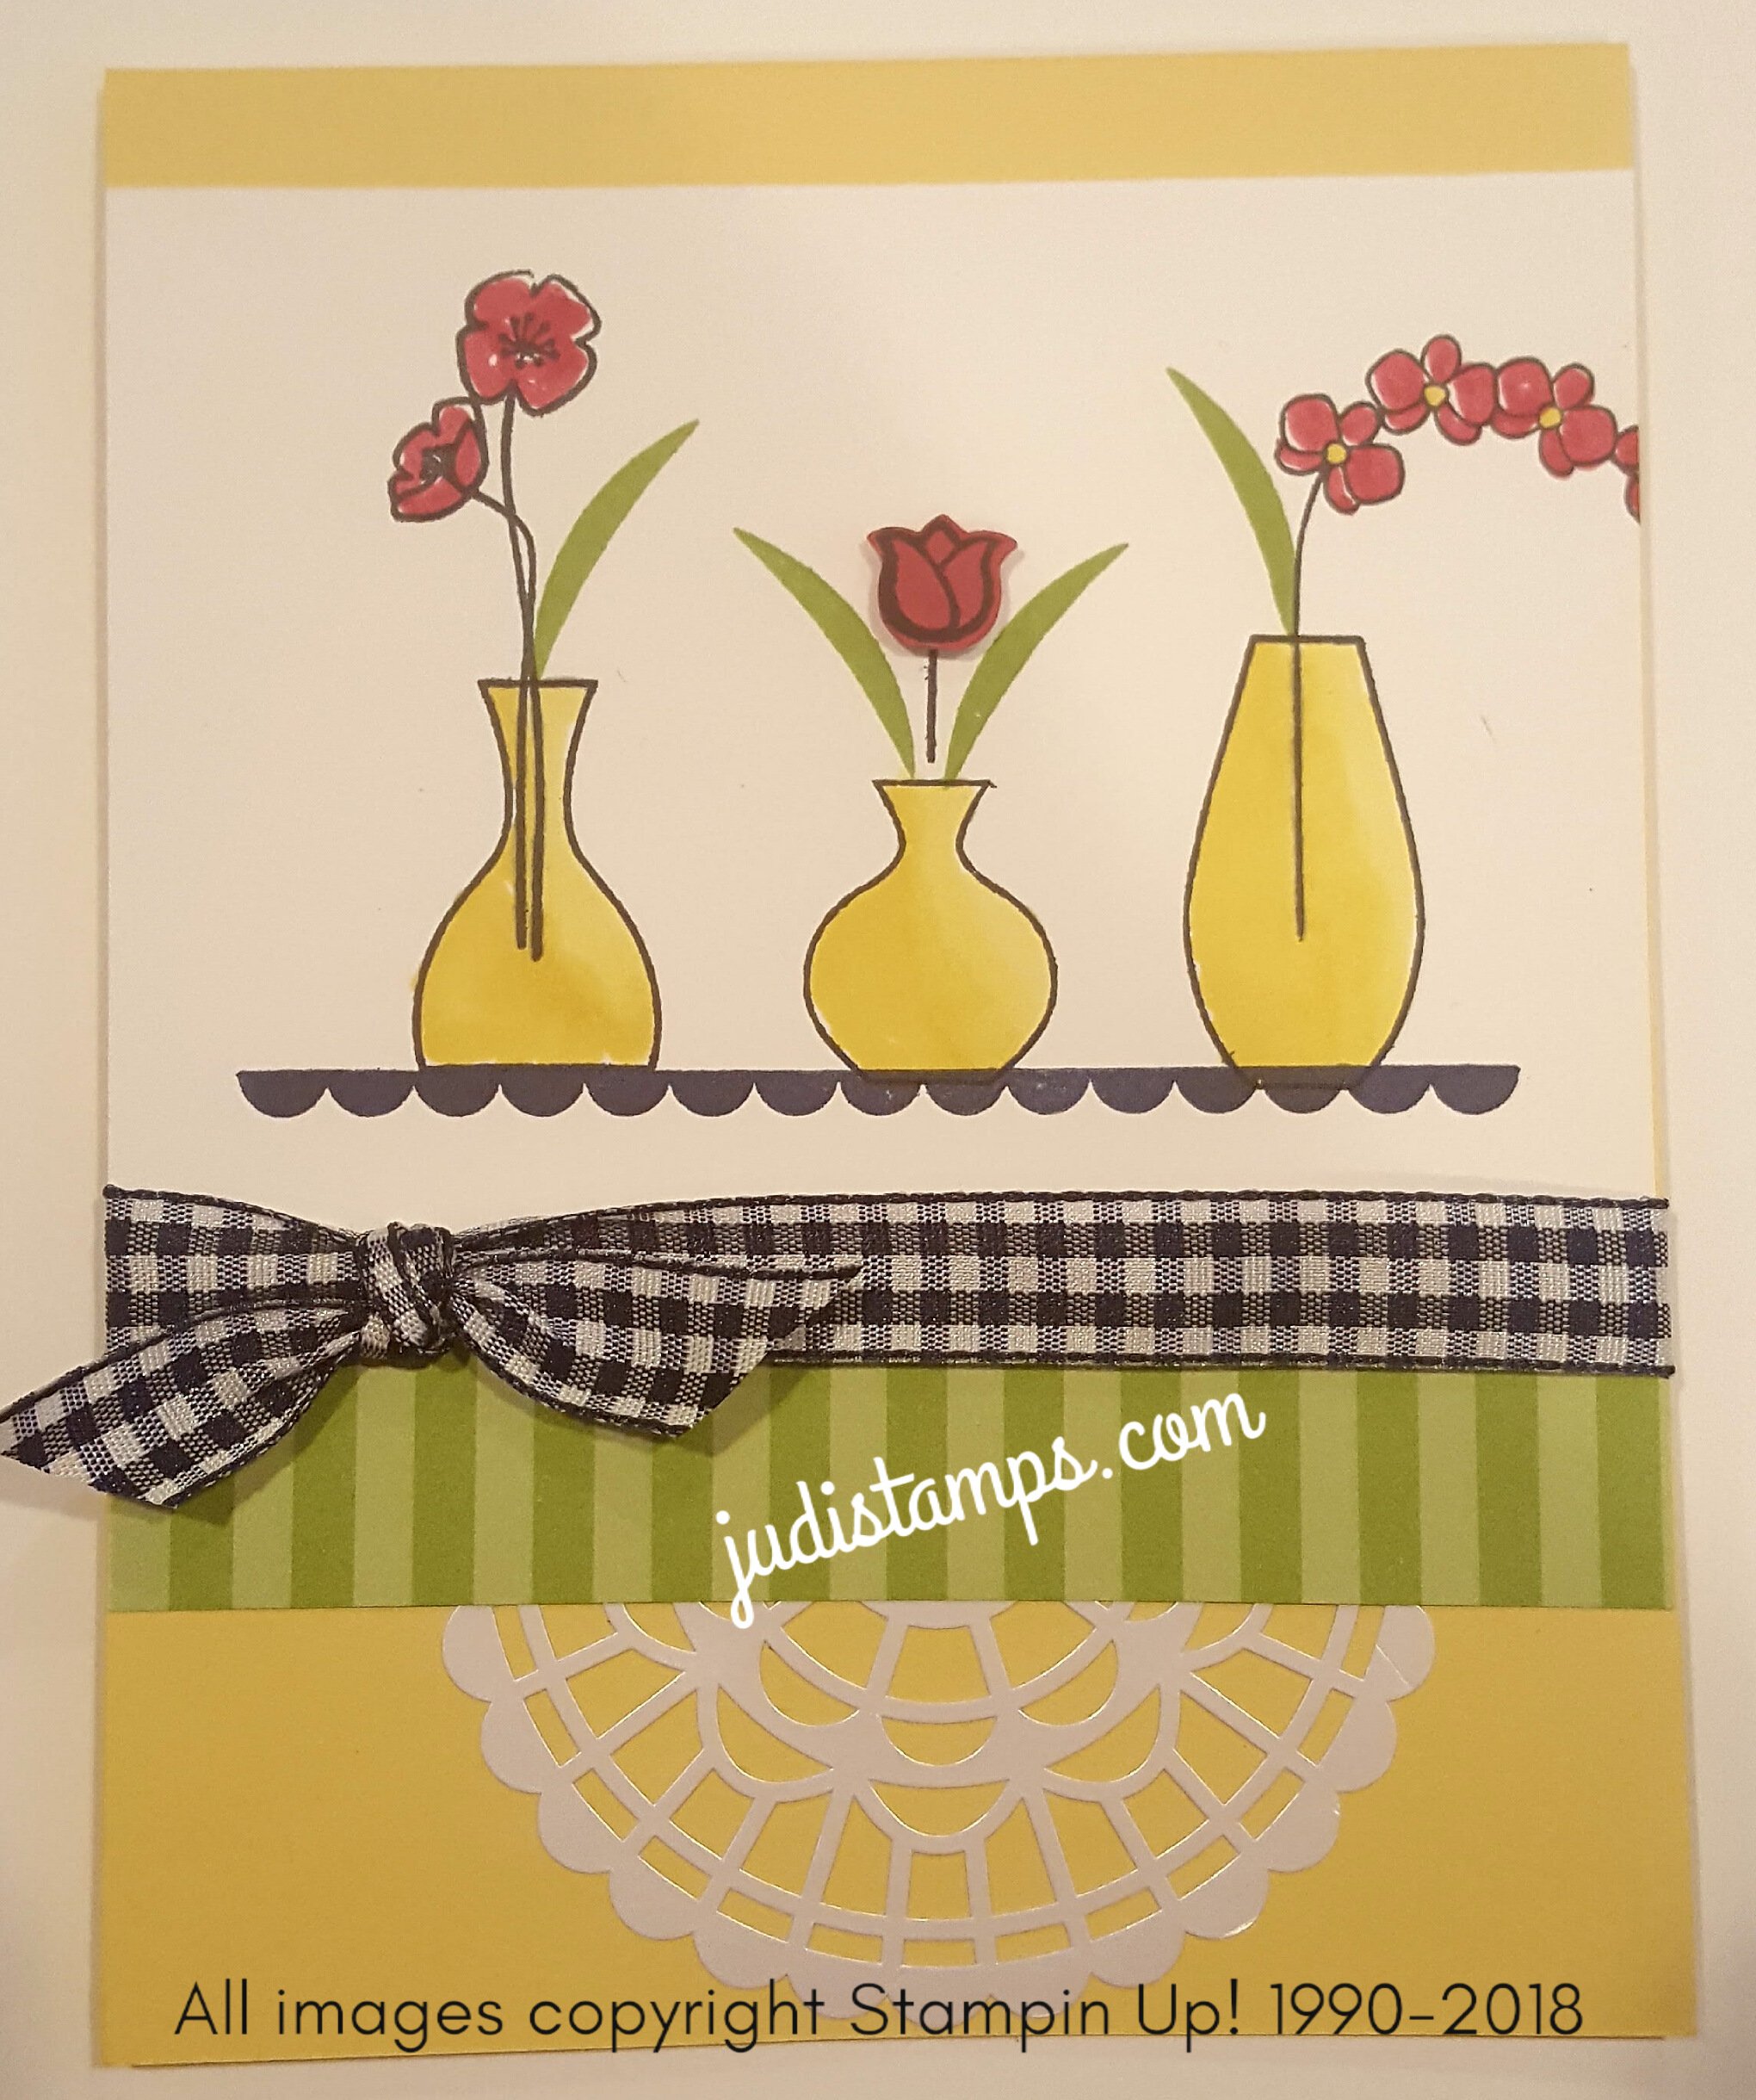
This is the card we will be making today. It uses So Saffron as the base, Whisper White, Granny Apple Green Designer Series Paper from the Brights paper stack. They will all enjoy the reminder of how to do the split ribbon technique.

This set was designed by one of our Million Dollar Achievers, Mary Fish. I love the fact that there is also a coordinating punch, which when you purchase together in the bundle you save 20%.

Here is my sample of the card participants created.

I had the joy of having Samantha & Hunter as helpers for my class.Samantha even stamped the card along with the gals.

When we got home she wanted to write inside, it says: “I love you. Happy Birthday to the U.S.A. From Samantha” She wrote MOM inside because she said mom has to give it to the U.S.A.

Check out:

Buy 3 Get 1 FREE Designer Series Paper Special

FREE Family of Ink Pads when you join our

HapBEE Stampers in Ink Family July 1-31!