Easy Polka Dot Greeting Card You Can Make in Minutes
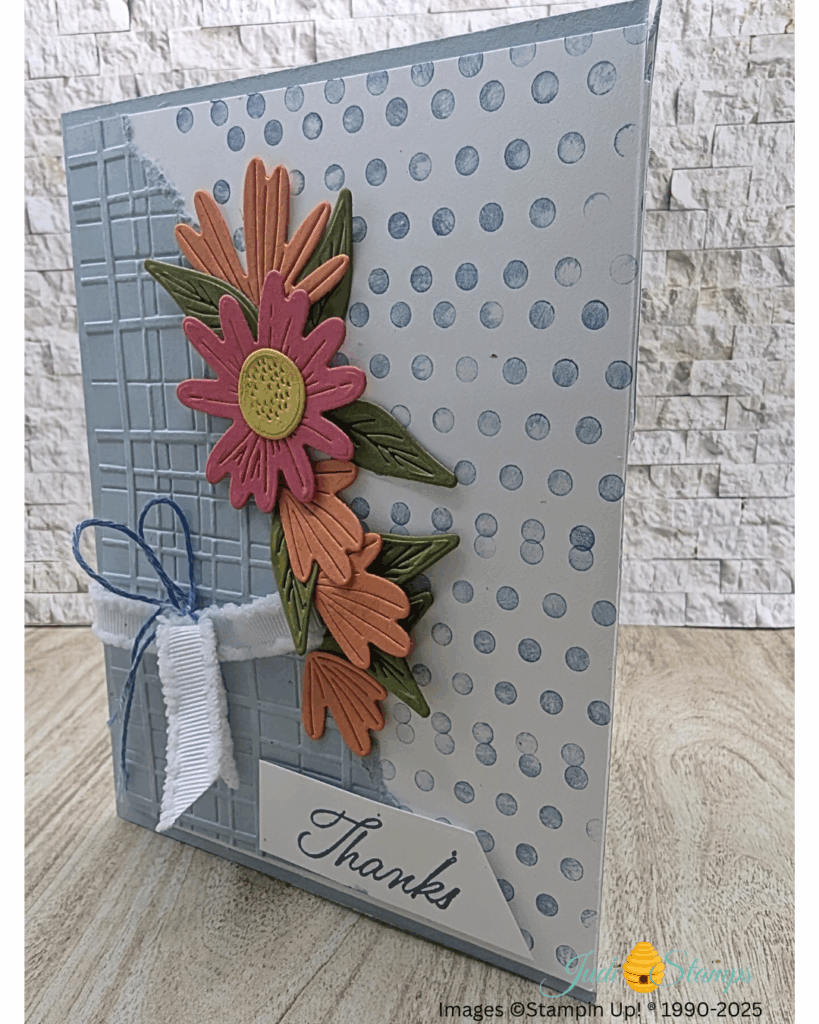
This cheerful polka dot greeting card came together in a flash—and I’m not just saying that to impress you. With a few bright die cuts, some texture, and a tiny splash of shimmer, you’ll be whipping these up for birthdays, thank you’s, and every “just because” moment in between.
Let’s start with the measurements:
- Cloud Cover (card base): 8 ½” x 5 ½”, scored at 4 ¼”
- Cloud Cover layer (embossed): 3″ x 5 ¼”
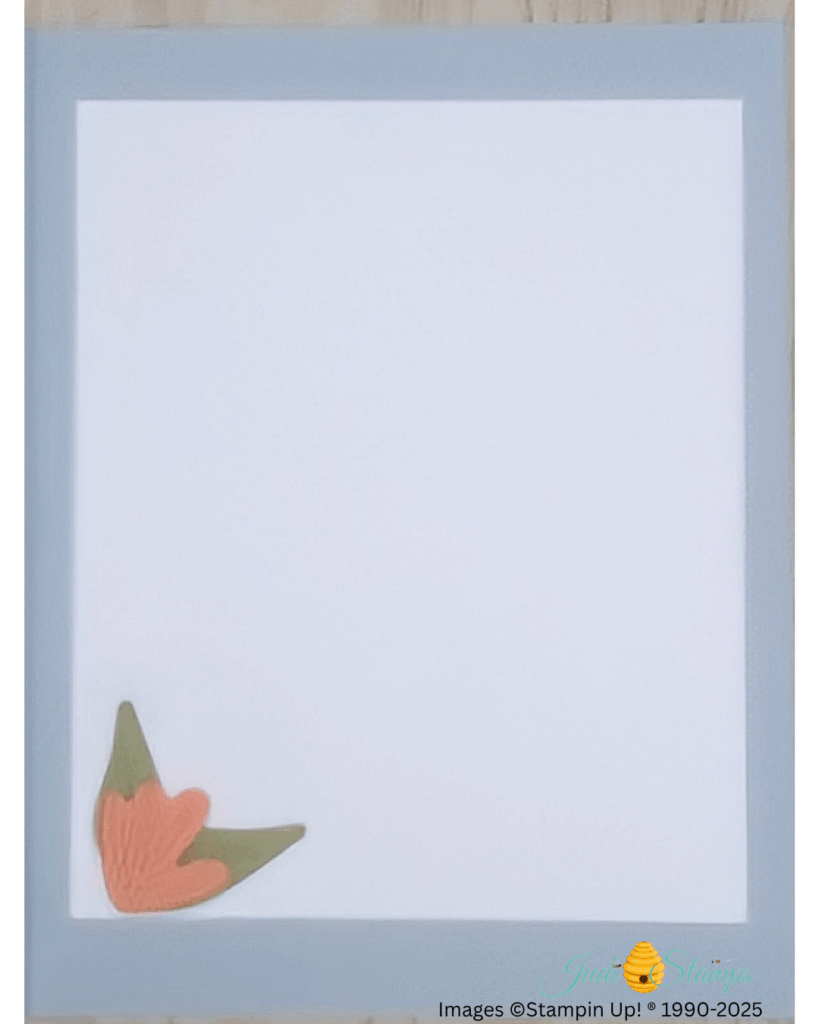
- Basic White (inside and back layer): 2 pieces at 4″ x 5 ¼”
- Basic White sentiment strip: ¾” x 3″
- Scraps: Old Olive, Strawberry Slush, Timid Tiger for the flowers and leaves
Inks used: Misty Moonlight Classic Ink Pad and the Light Misty Moonlight Stampin’ Blend.
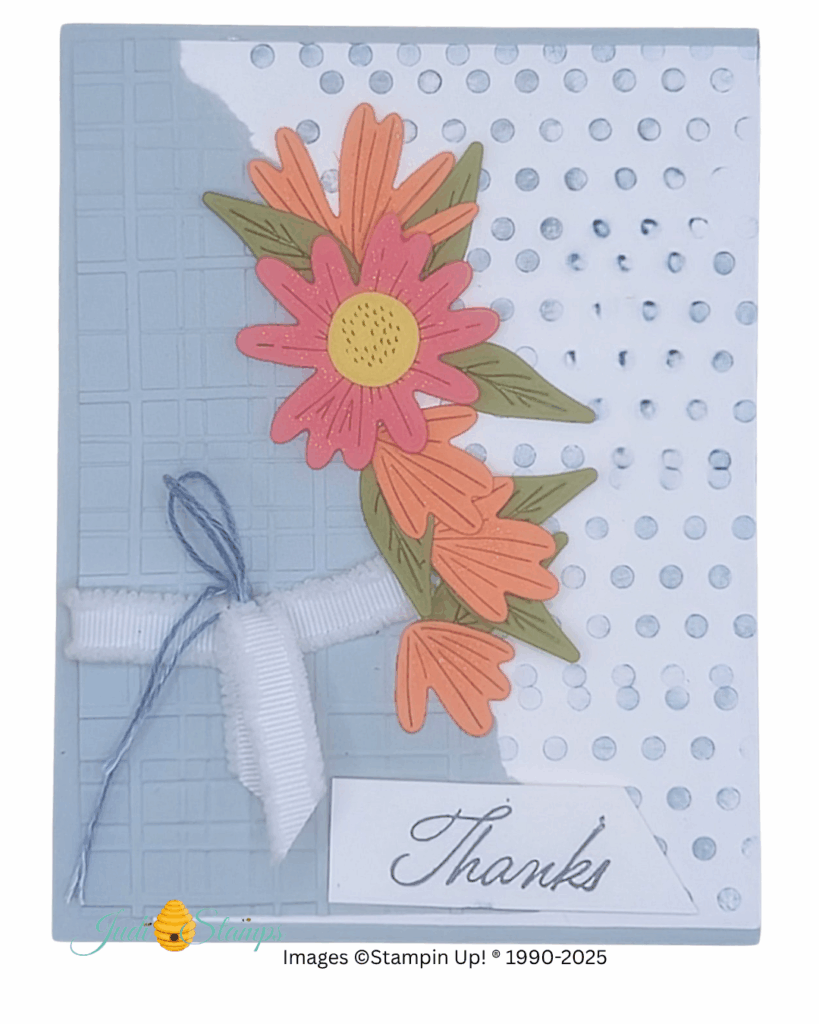
Start by embossing the Cloud Cover layer with a grid or dotted pattern. You want something subtle that gives the card a little movement without stealing the show. Then, tear one edge of a foil polka dot strip and layer it across the card. That tear adds just the right amount of sass.
Next, die cut your flowers and leaves. I used Strawberry Slush, Timid Tiger, and Old Olive scraps. These colors pop beautifully against the blue base. Play around with the arrangement until you get a nice cascade of petals.
Easy Polka Dot Greeting Card with Layered Details
Now comes the fun part—layering! Adhere the flowers and leaves across the torn strip. Some flat, some popped up with dimensionals. Layering gives the card depth and makes everything feel a little extra.
For the sentiment, stamp your message in Misty Moonlight on the Basic White strip. Angle-cut the edges for a modern look and tuck it near the bottom flower.
Finish it off with a small double bow. I used white ribbon and Misty Moonlight twine for texture and balance. A few dots from the Light Stampin’ Blend bring it all together.
This card is proof that you don’t need hours to make something beautiful. You just need a few coordinating colors, a playful layout, and a willingness to tear paper on purpose.
The bundle I used is part of the Suite Sale—but only until June 30!
Click here to grab it now and save ~ B1G1 50% off!
Check out this card HERE that uses the same Bundle!
Would you use this as a birthday card or a thank you? Let me know in the comments!


Leave a Reply