As promised, I am bringing you some more backgrounds with the Brushos® technique I shared in our SBTD Blog Hop on Saturday which you can check them out here.
WARNING: When trying this technique you may find yourself acting like a child experiencing finger painting for the first time! The giddiness (is that a word) & fun is addicting!!
These samples are from my students in my Brushos® class. They were told to use any color combination they wanted, and to sprinkle the Brushos®onto the Glossy Cardstock and spritz with water. They could then use the shelf liner that I provided in any way they wished to create their own background. All had fun and were amazed at the different looks each achieved by sing the same products! I enjoyed watching the fun, laughter, oooohh’s and aaaah’s coming from them. The excitement and fun was so addicting as each revealed their creation!
Here’s a look at them:
This was Cindy’s creation, she used all the colors, sprinkling the Brushos® a little bit heavier and then lightly spritzed with the water at a small angle. She waited for the water to dry a little bit and then laid the shelf liner on the top, dabbed,lightly,with a paper towel to absorb extra water and then lifted the shelf liner straight up. You don’t want to dab up too much water because you will be pulling up some of the crystals which lessens the intensity of the color.
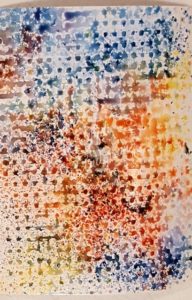
Annalise used a lighter hand at sprinkling her Brushos®, spritzed with a very light hand straight over the top of her cardstock. She then laid the shelf liner directly over the wet cardstock and lifted straight up. Her result was more definition of the pattern from the shelf liner.
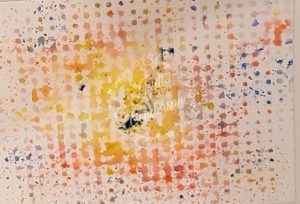
The next is Chris’s design. Chris decided to sprinkle her Brushos® with more of a rainbow effect rather than mixing the colors (red, blue, yellow) by sprinkling the colors in sections rather than over each other. She also spritzed a little heavier with water, and laid the shelf liner onto the water immediately allowing the water to spread more than Annalise’s. She also dabbed paper towel over the shelf liner a little to help absorb the water giving the color a lighter look.I love how the colors meld into each other creating a soft transition.
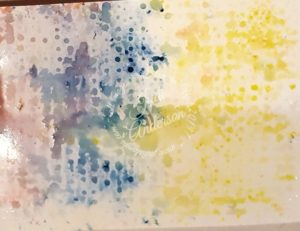
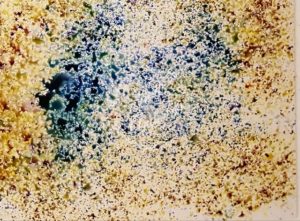
Debi achieved a totally different with hers. She decided not to dab hers with the shelf liner and instead of spritzing the crystals with long strokes she did small bursts of water, lightly over the top. I think it gave it a look of granite, don’t you?
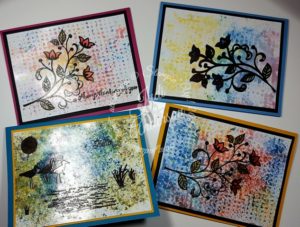
Each person got to decide on their card base color, depending on what color they wanted to pull out of the background they created. I then showed them my sample ( the card from the hop plus a few more) and they chose from a few different stamp sets. *This is one of the perks of taking classes in my HapBEE Stamping Studio!
Want to see what they created?
Debbi’s had a shine on it so I took a single picture of hers.
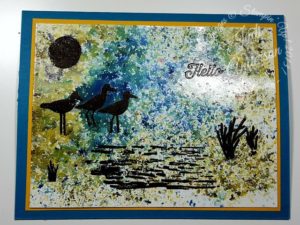
It was hard getting good pictures because of the glare the Glossy Cardstock gives when taking pictures. I will be holding another class with Brushos® and other products so if you are interested in learning how to use this amazing product, contact me.
To purchase your Brushos® and other products used for these amazing cards be sure to head over to my online store by clicking the link in my signature.
So are you amazed with the different looks you can get by using the same products? Glossy cardstock, water and Brushos® Crystal Colour!

1 thought on “More backgrounds with Brushos®”