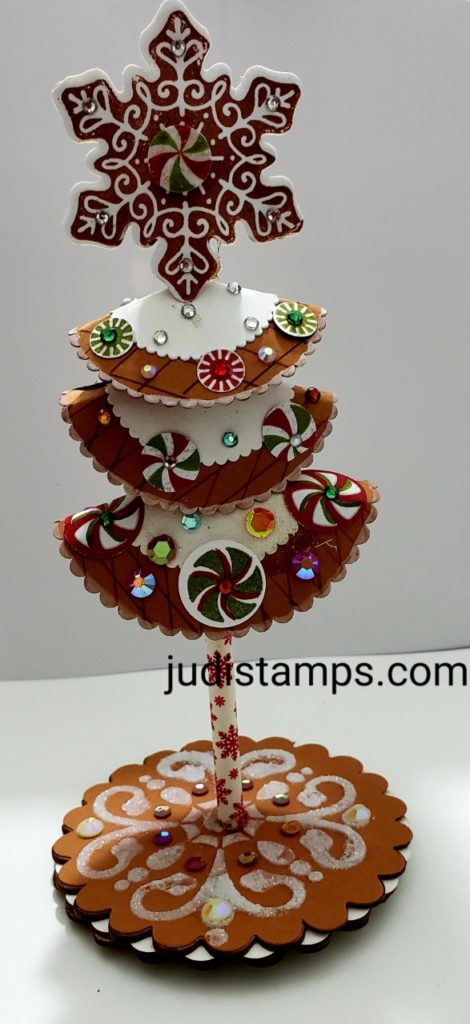
An adorable Gingerbread Christmas Tree decoration that coordinates with my holiday viniette on my table. I had filled my kitchen with anything gingerbread and candy before we moved. I have quite a few pieces but unfortunately I don’t have the room for many of them.
Our kitchen and living room are open to each other so I tend to decorate them both with one theme. This year I chose to do Gingerbread and candy. I am able to do a vinette on my table so this is where I am displaying a set of gingerbread boy & girl. On each end of the table I have placed 2 gingerbread trees. I am placing the cards we receive this year throughout this viniette.
Wanting to bring the theme into the kitchen, I decided to make a smaller tree version that I can tuck into a tiny space or on the window ledge.
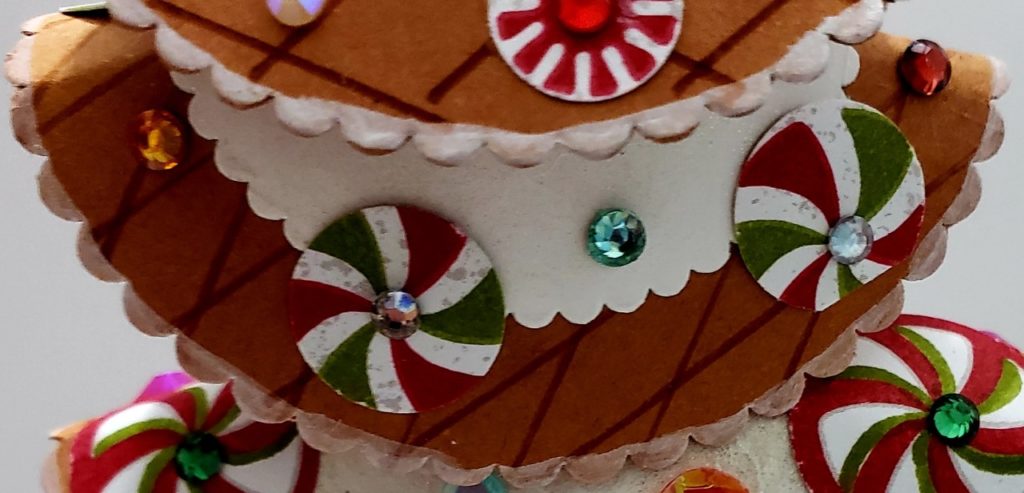
Our Gingerbread and Peppermint Suite is perfect for my creation. I cut out 3 assorted sizes of scalloped circles form our Circle Dies (#) from Cinnamon Cider cardstock. I cut 3 smaller circles from Basic White to act as the icing. Here is aoicture of the center layer.

An adorable Gingerbread Christmas Tree decoration needs a stand/base
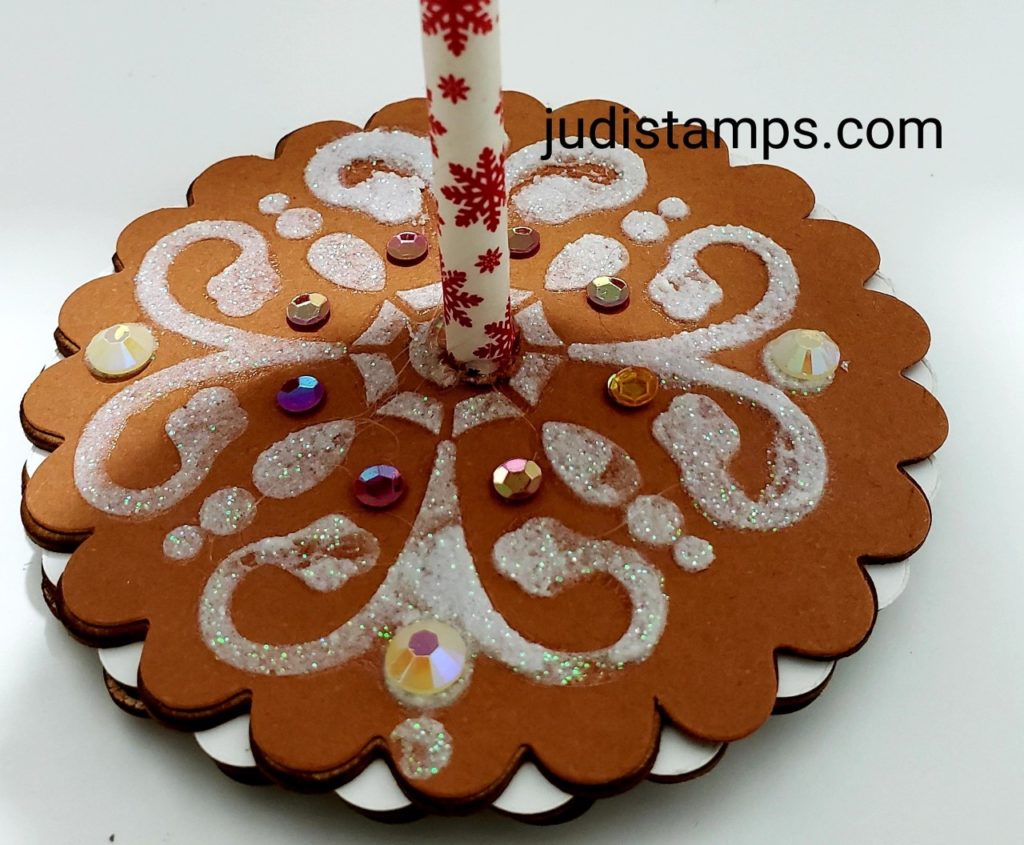
I wanted to mimick the 2 trees on my table so I stacked 3 scalloped circles of the same size using chipboard. Using the chipboard that comes in the packaging of some of our Designers Series Papers. I added another scalloped circle cut from Cinnamon Cider and Basic White on top of the chipboard layers. Our All-Purpose Liquid Glue is perfect for layering all of these pieces. Decorating the base was fun as I used our Gimmer Paste and a stencil to look like frosting. Finally I drilled a hole using my drill to insert the paper straw trunk into and hot-glued it.

Continuing to decorate the three tree sections using the Gingerbread Designer Series Paper, stampin’ Write Markers and an assortment of Rhinestones and sequins. The tree topper was stamped in Cinnamon Cider Classic Ink, die cut twice. I sandwiched these two pieces, only gluing the edges and leaving one section unglued.
All that was left to do was punch a hole in the center of each tree layer, slit the circles to the center and glue to desired width. I then slid each layer onto the straw and hot glued into place. The snowflake star was added to the top.

I hope that I have inspired you to create some fun holiday decor for your home. See and purchase the products I used here, on our Last Chance List and only available while quantities last.
View a cute gift card holder using the Gingerbread and Peppermint Suite here.
Until we meet again. . .

