Sunflower Embossing Folder Magic Meets Ink Pad Wow!
First, I cut a piece of Melon Mambo cardstock (don’t come for me, it’s what I had) and slid it into the embossing folder. Ran it through the machine like normal—but then Judi showed me the magic part.
We flipped the paper to the de-embossed side (where the flowers sink into the cardstock instead of popping out), and then I gently rubbed my Melon Mambo ink pad right across the top. Y’ALL. It brought out every petal and detail like it was blooming on the page. It looked like a whole new level of cardmaking—but it was just ink and pressure!
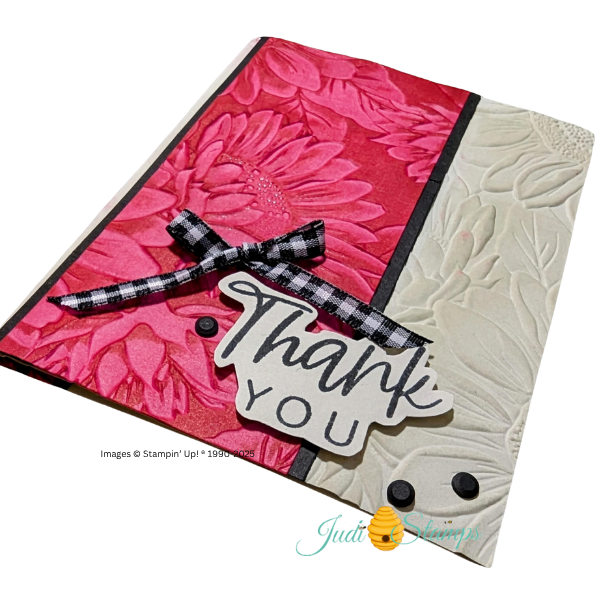
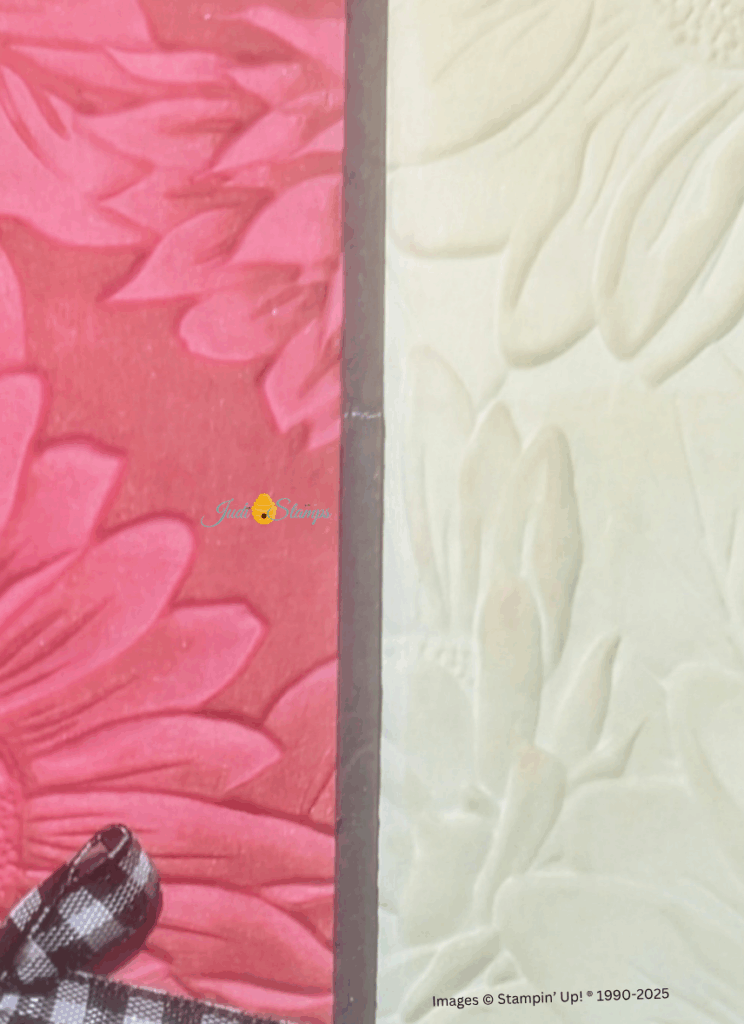
Next, I embossed a piece of Basic Beige cardstock for the other half of the card and tried brushing it lightly with VersaMark. It’s subtle—like a little shimmer or shadow—but it made those flowers stand out even more. (Okay fine, there’s a tiny Melon Mambo smudge in there too. My finger slipped. I’m calling it a “creative accent.”)
I added a strip of black cardstock on each side of the Melon Mambo panel, stamped and fussy cut out a “Thank You” sentiment, and tied a little black-and-white gingham bow for extra sass. A few matte black dots later, and boom—my sunflower masterpiece was done.
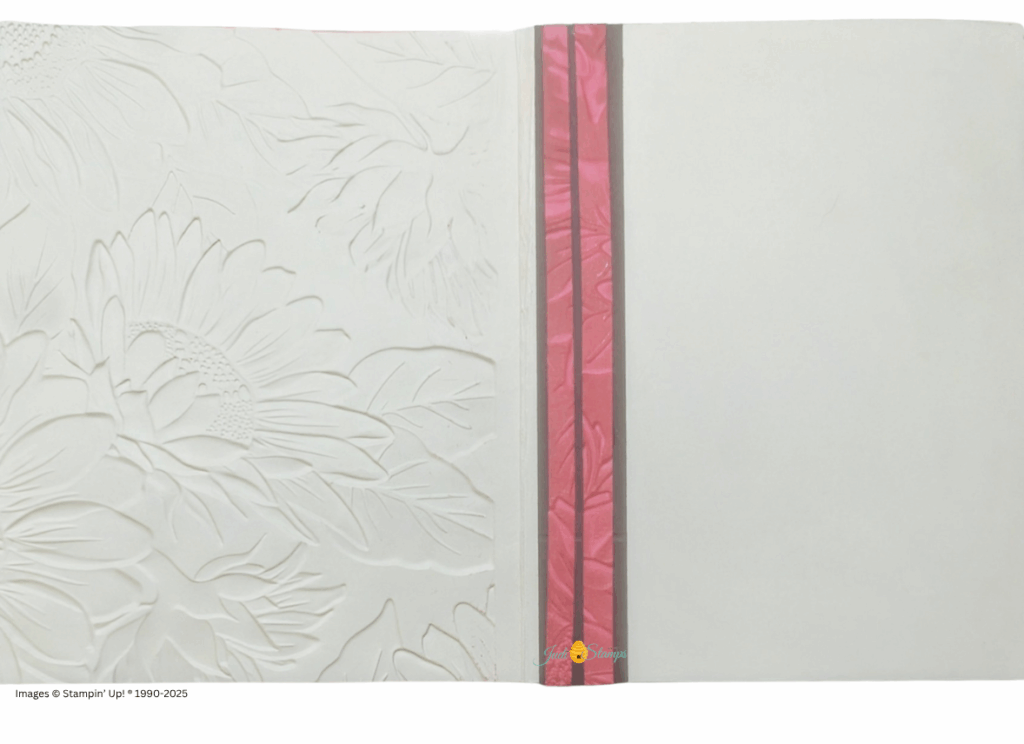
Even better? I used the scraps from trimming the panels to decorate the inside of the card. Waste not, want not!

So if you’re just getting started, don’t be afraid of embossing folders or ink pads. Sunflower Embossing Folder Magic is totally beginner-friendly—and totally WOW. Try it, and let me know if your fingers stay ink-free. (Mine didn’t.) Be sure to come back next week to see what I learn~ and maybe you will learn something too!
You can get your Sunflower 3-D Embossing Folder
but don’t wait cause it’s on low inventory!!


Beautiful