Shadow stamping, can mean a few different things in rubber stamping. You may want a shadow of the same shape to create depth or lighting. Or, you may want a shadow of a shape behind an image. Let’s explore a few ways to do this technique.
When I first started stamping we had a set of shadow stamps.These were solid stamps in the shapes of; a circle, square, oval, and rectangle. We would stamp this shape in a light color (or stamp off) and then stamp another image on top. We currently carry a set of Watercolor Shapes. These stamps give your outline images an updated look when doing this method of shadow stamping. I love giving my outline stamps a different look by doing this type of shadow stamping.
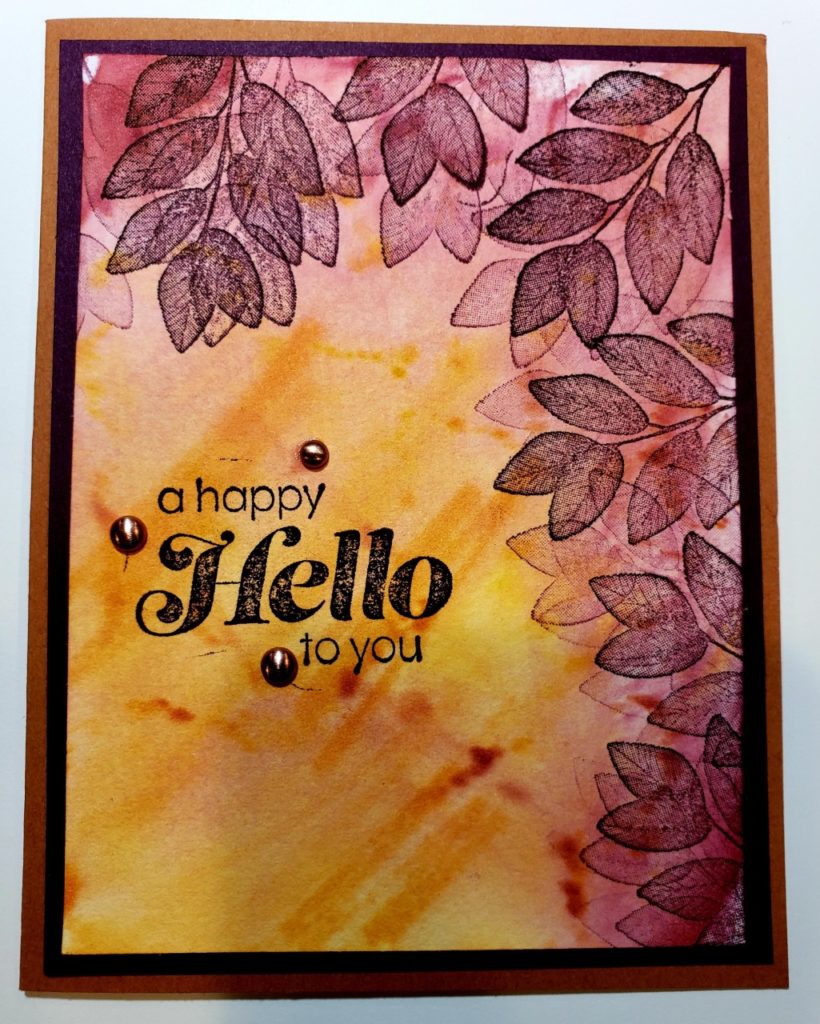
Shadow stamping is also done in creating this card.
By stamping your image several times without re-inking the stamp you will get shadows. This is also known as generational stamping. In this sample I stamped the leaves several times without re-inking the stamp. Here is a card showing this.

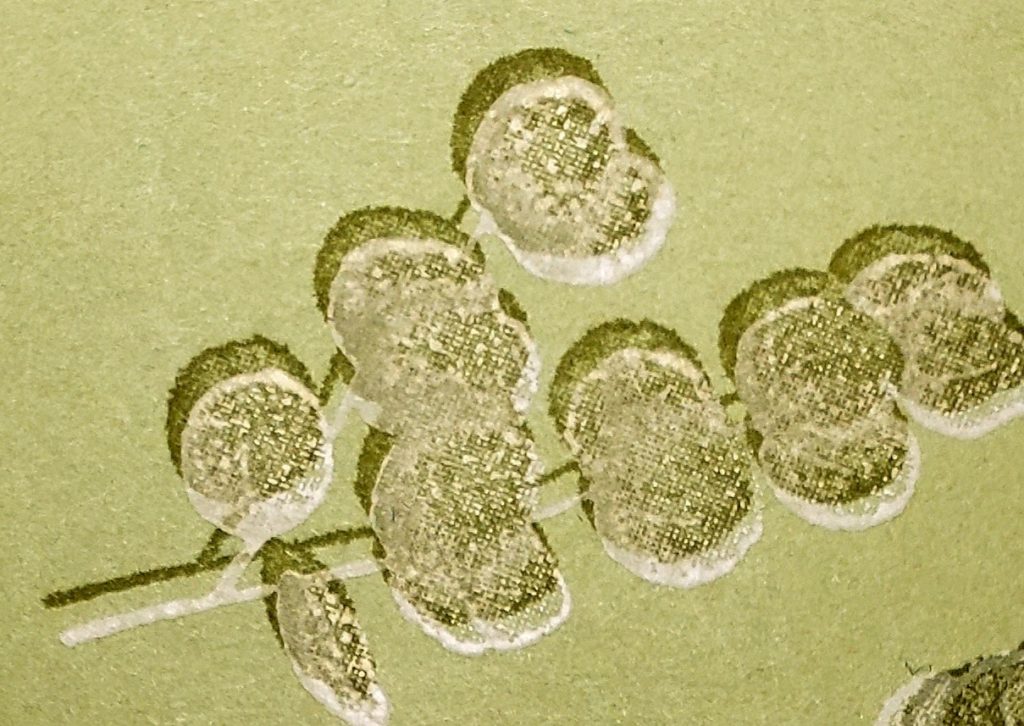
A third way to get a shadow is to use our White Craft Ink with any color of Classic Ink. I stamped the image using the classic ink first. Let it dry. Stamp the image a second time using White Craft Ink, offsetting it to either side just a bit. In this sample I used Pear Pizzaz Ink on Pear Pizzaz cardstock, then White Craft.

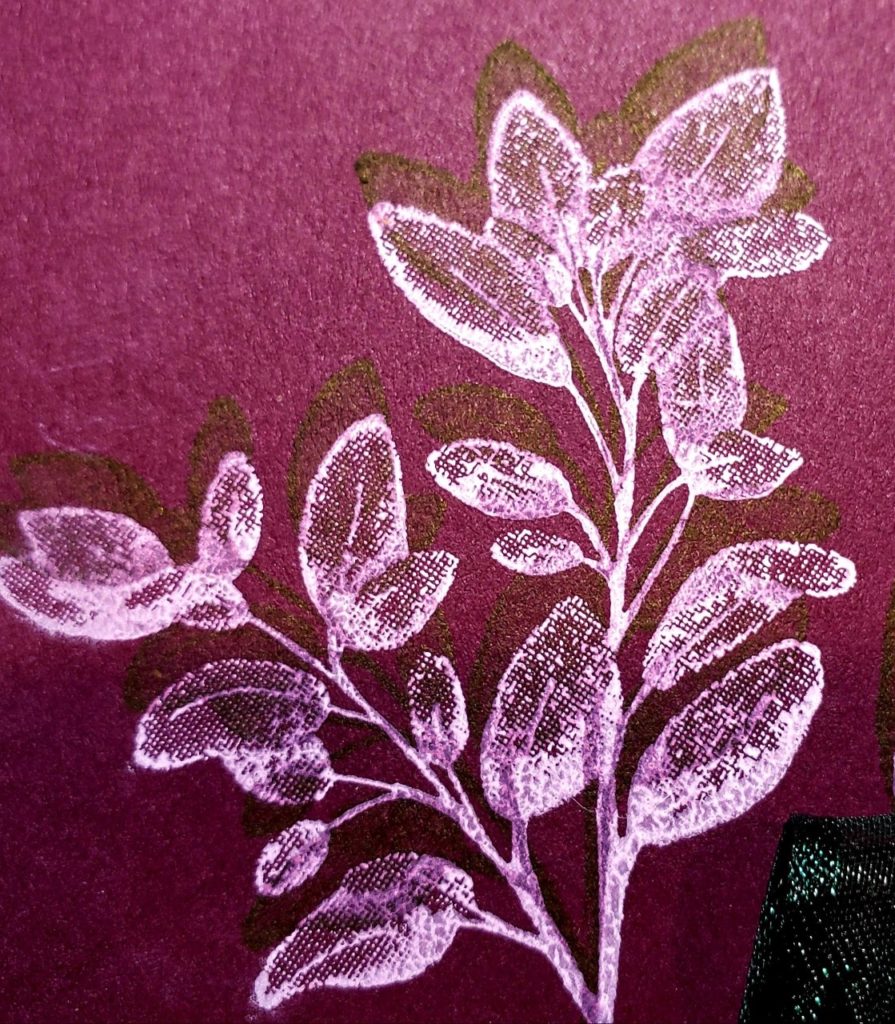
In this next sample I used Rich Razzleberry ink onto Rich Razzleberry cardstock. TIP: be sure to clean your stamp well before stamping with the White Craft! You will notice the White Craft Ink has a touch of pink-ish to it. Guess who didn’t clean her stamp well enough. . .


Until we meet again. . .

Leave a Reply