I am excited to be sharing a card using our Carols of Christmas Bundle, an early release Bundle, today. Before I get to the card I want to remind you that. . . . .
You have 2 days left to join my HapBEE Stampers in Ink TEAM & receive the stamp set as an added bonus! Not only do you get this stamp set but you also receive these stamping basics ~ a total value of more than $72!! In total, the starter kit has a value of almost $250 and only will cost you $99.00 plus tax (shipping is FREE!!)
Now, let’s get back to the card. . . .
The bundle consists of the Carols of Christmas stamp set and The Card Front Builder Thinlits Dies. and will be available for you to purchase on August 1. These thinlits dies are sure to be one of your favorites in turning ordinary cards into extraordinary! I can see using these on a variety of cards from anniversary to the young at heart and every occasion in between. (almost made it from a to z!) They will also be great to use in your memory albums; as frames for pictures, page edges, and amazing page and pocket embellishments.
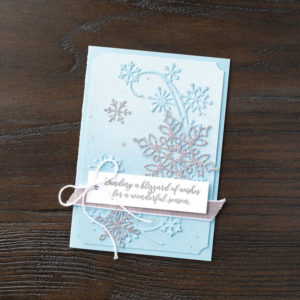
The card I am sharing today has a few quick & fun techniques that bring it to a simple but WOW card.

 Let’s start by making the background by using the sponge and spritz technique. Using Whisper White cardstock as a base, I masked off the bottom to create snow drifts and the edges to create a white border. I then sponged Soft Sky from the bottom to about midway to the top. Next I sponged Night of Navy to the top of the card overlapping the Soft Sky a bit so they blend seamlessly. Using our Spritz Sprayer I spritzed water over the entire piece & let it dry to create depth in the sky.
I created the top by cutting an edge after using the moon and star thinlit from Night of Navy. I mounted this onto Whisper White and trimmed it to match the Night of Navy.
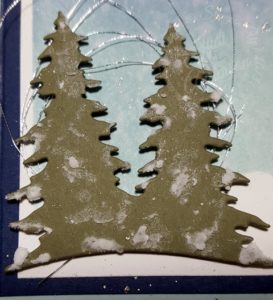
I cut the trees from Always Artichoke cardstock. Adding our embossing paste to create snow is added dimension and texture. In some areas it even looks like it is melting!
I decided to add some Silver Metallic Thread behind the trees for added glitz and simulating the glow from the moon.
I assembled the card by layering the Whisper White onto Night of Navy and then a Soft Sky card base. I added the top cut from the Cardfront Thinlits. Next, I embossed the “PEACE” in sliver by omitting the “On Earth”, added the trees using our new Mini Stampin’ Dimensionals, and stamped the deer in Soft Suede ink.
Wanting a bit more glitz, I used my Wink Of Stella on the cut outs at the top and then added “Stella Snow” (as I call it) by tapping the Wink of Stella pen against my finger to add specks over the card..

I love customizing the inside of cards also. For this one I sponged the edges using both, Soft Sky and Night of Navy inks.

I used the negative from my trees to sponge a few using Always Artichoke ink.
You probably have noticed I haven’t put a verse on the inside yet, I will do this when I go to send this card as I like to personalize it.
I hope you enjoyed this sneak peek of the Carols of Christmas Bundle. This stamp set is one of two I am featuring in this month’s Christmas Card Class so be sure to visit my Calendar of Events for more information.

Use HOSTESS CODE: XXMXTMM7


 (I love trinkets,don’t you?)
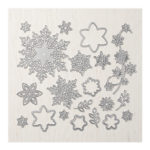
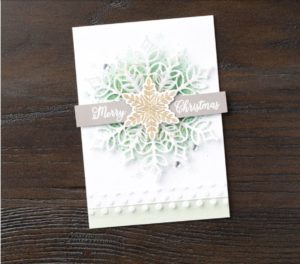


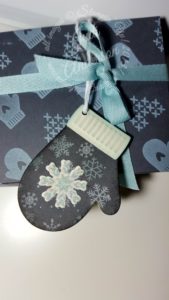
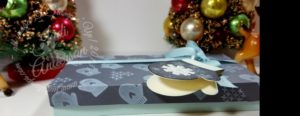

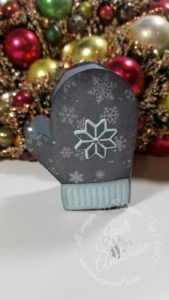


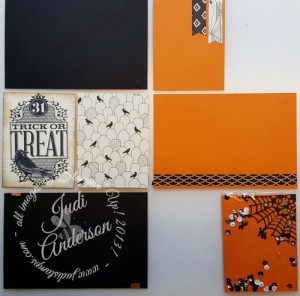
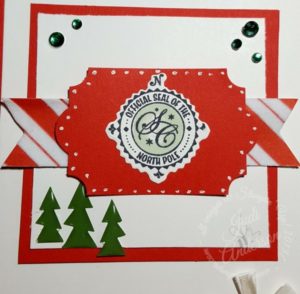
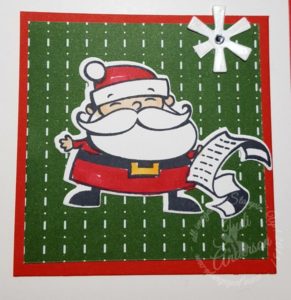
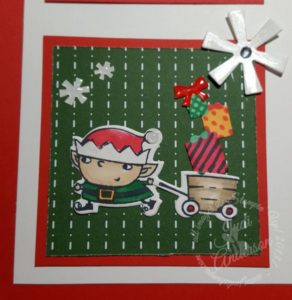
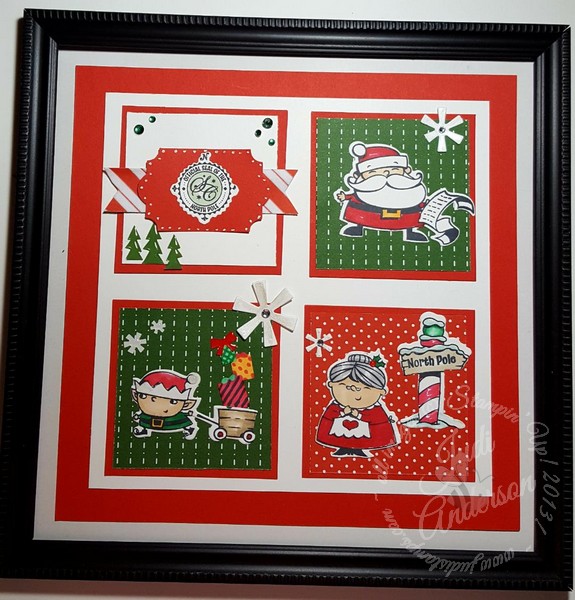
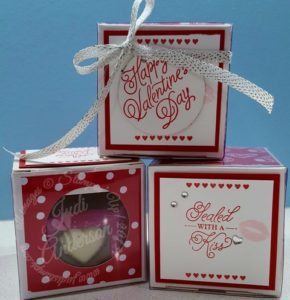
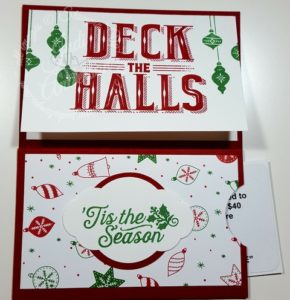 I used the Carols of Christmas stamp set (#144804) and our Be Merry Designer Series Paper (#144111). The colors of ink are Cherry Cobbler & Garden Green with Cherry Cobbler cardstock as the card base.
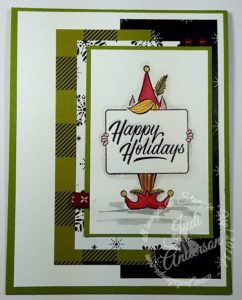

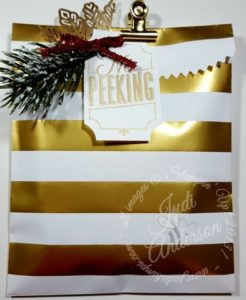
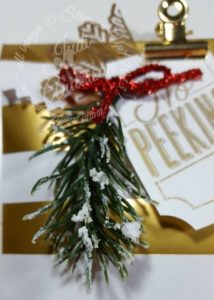
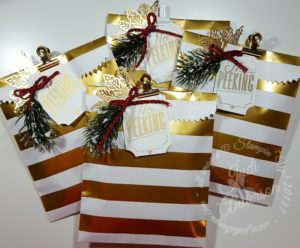
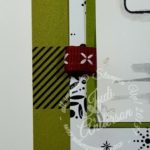 and tucked it on the side of the top matt.
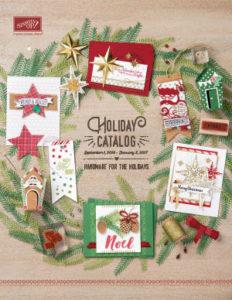
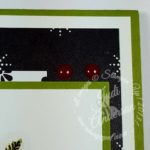 I am sure you are getting excited to see the new 2017 Holiday Catalog while browsing through our samples. Which items will be at the top of your wish list? I hope you choose the Festive Phrases as one of your must haves! If you aren’t currently working with a demonstrator and would like your own copy, just comment and I will contact you to send one your way.
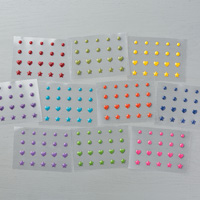
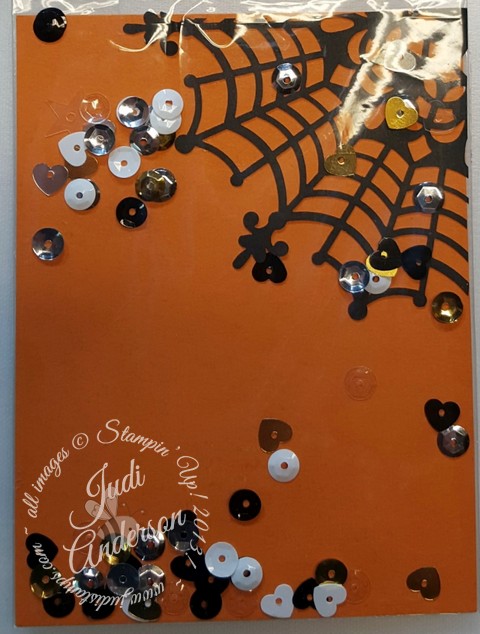
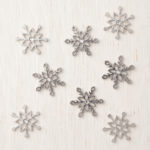
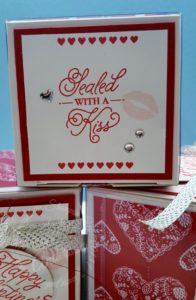 This is a close up of the details of the top. I just absolutely am in love with the Metallic Enamel Shapes! They add a bit of sparkle to this project.